Maple Writing Desk
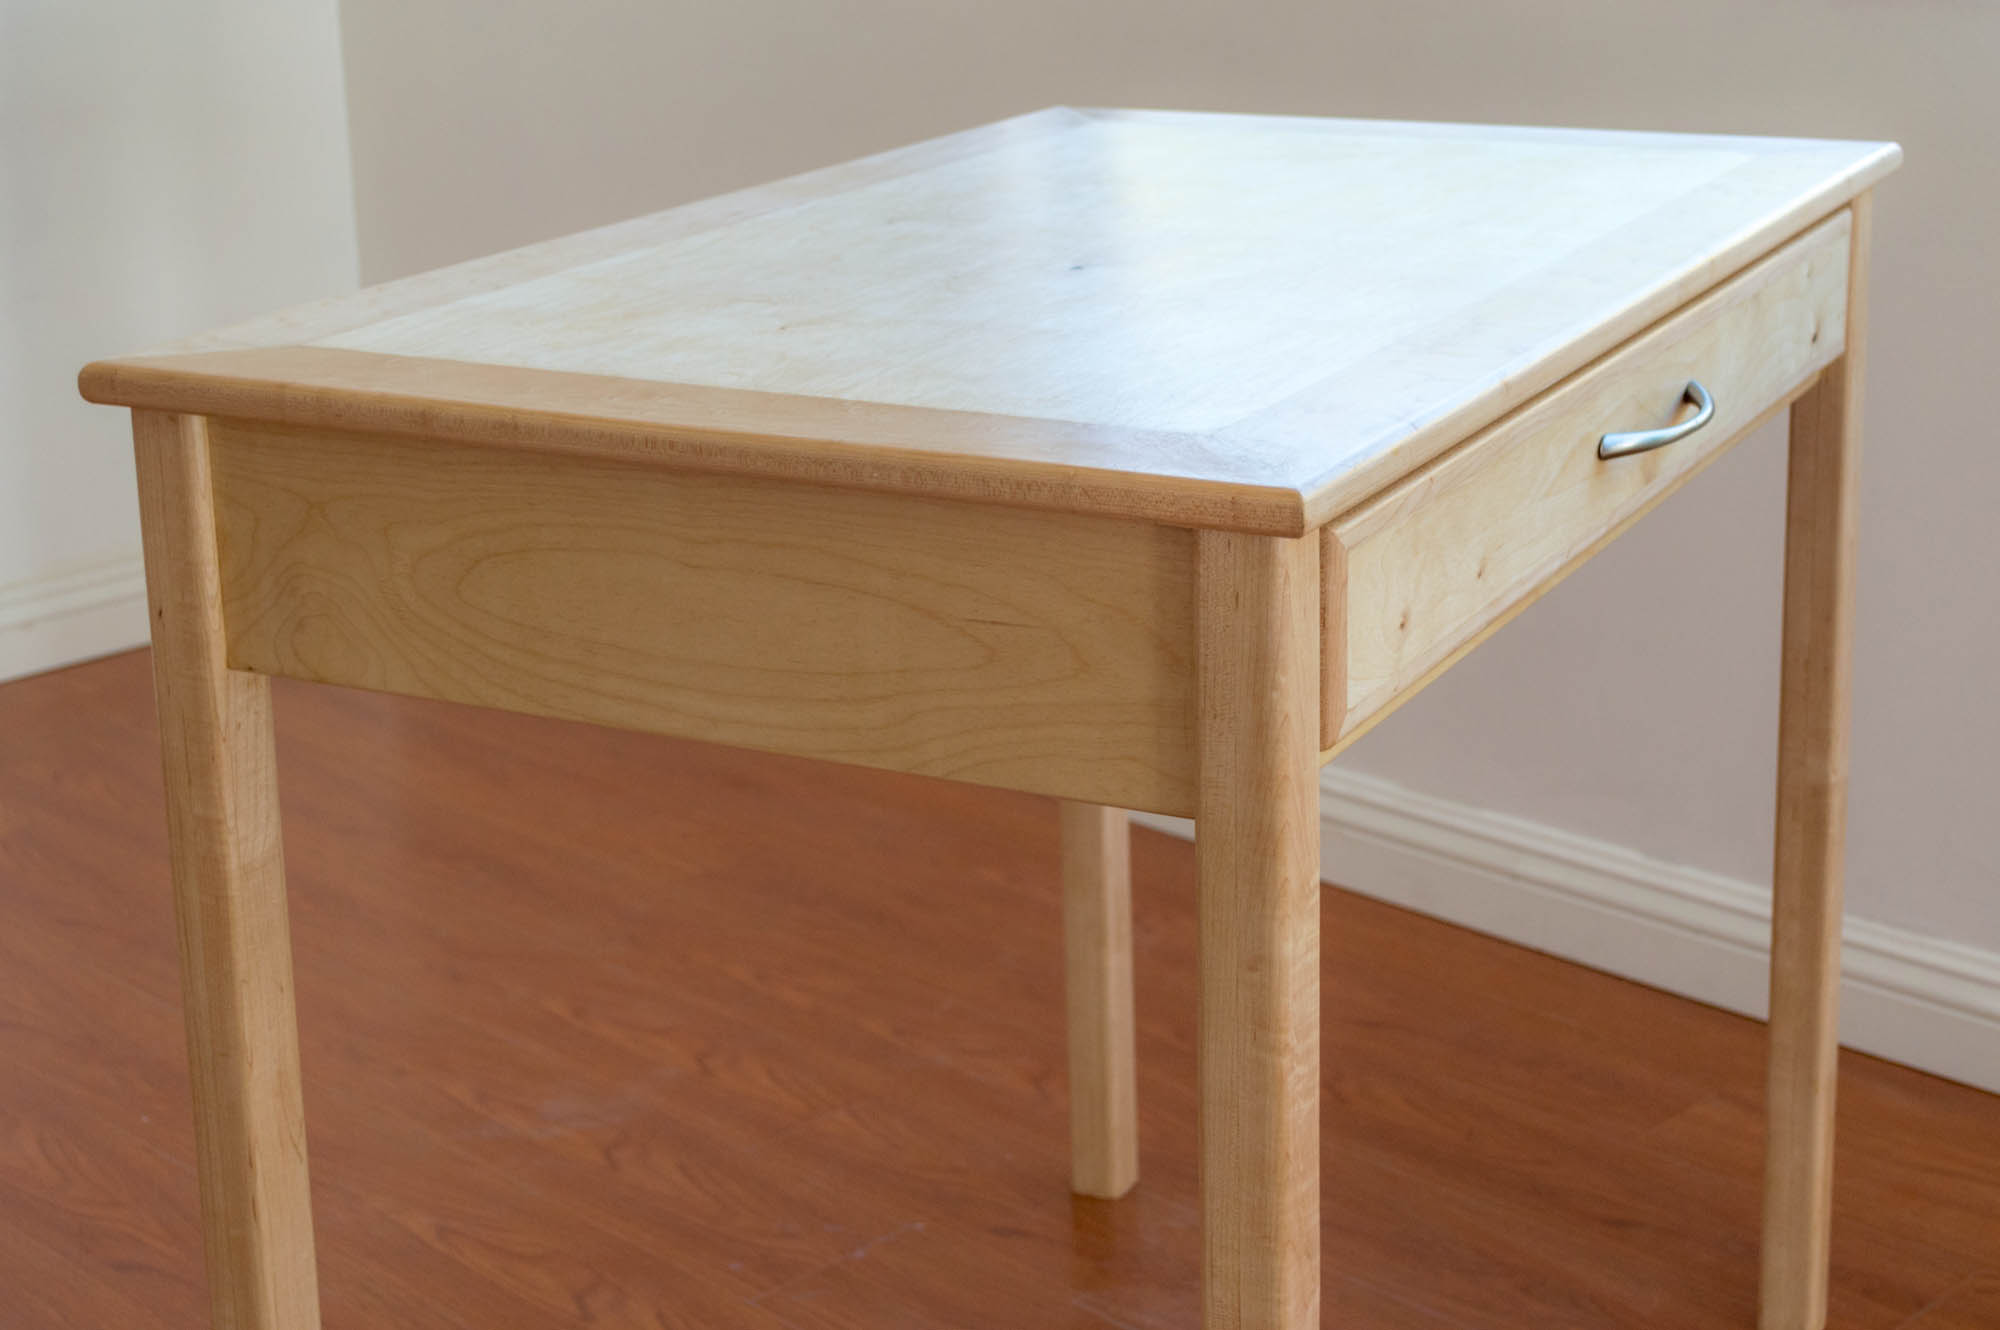
My mother commissioned me to build a writing desk in Winter 2013. And after a year of indefinite hiatus, I finally finished it.
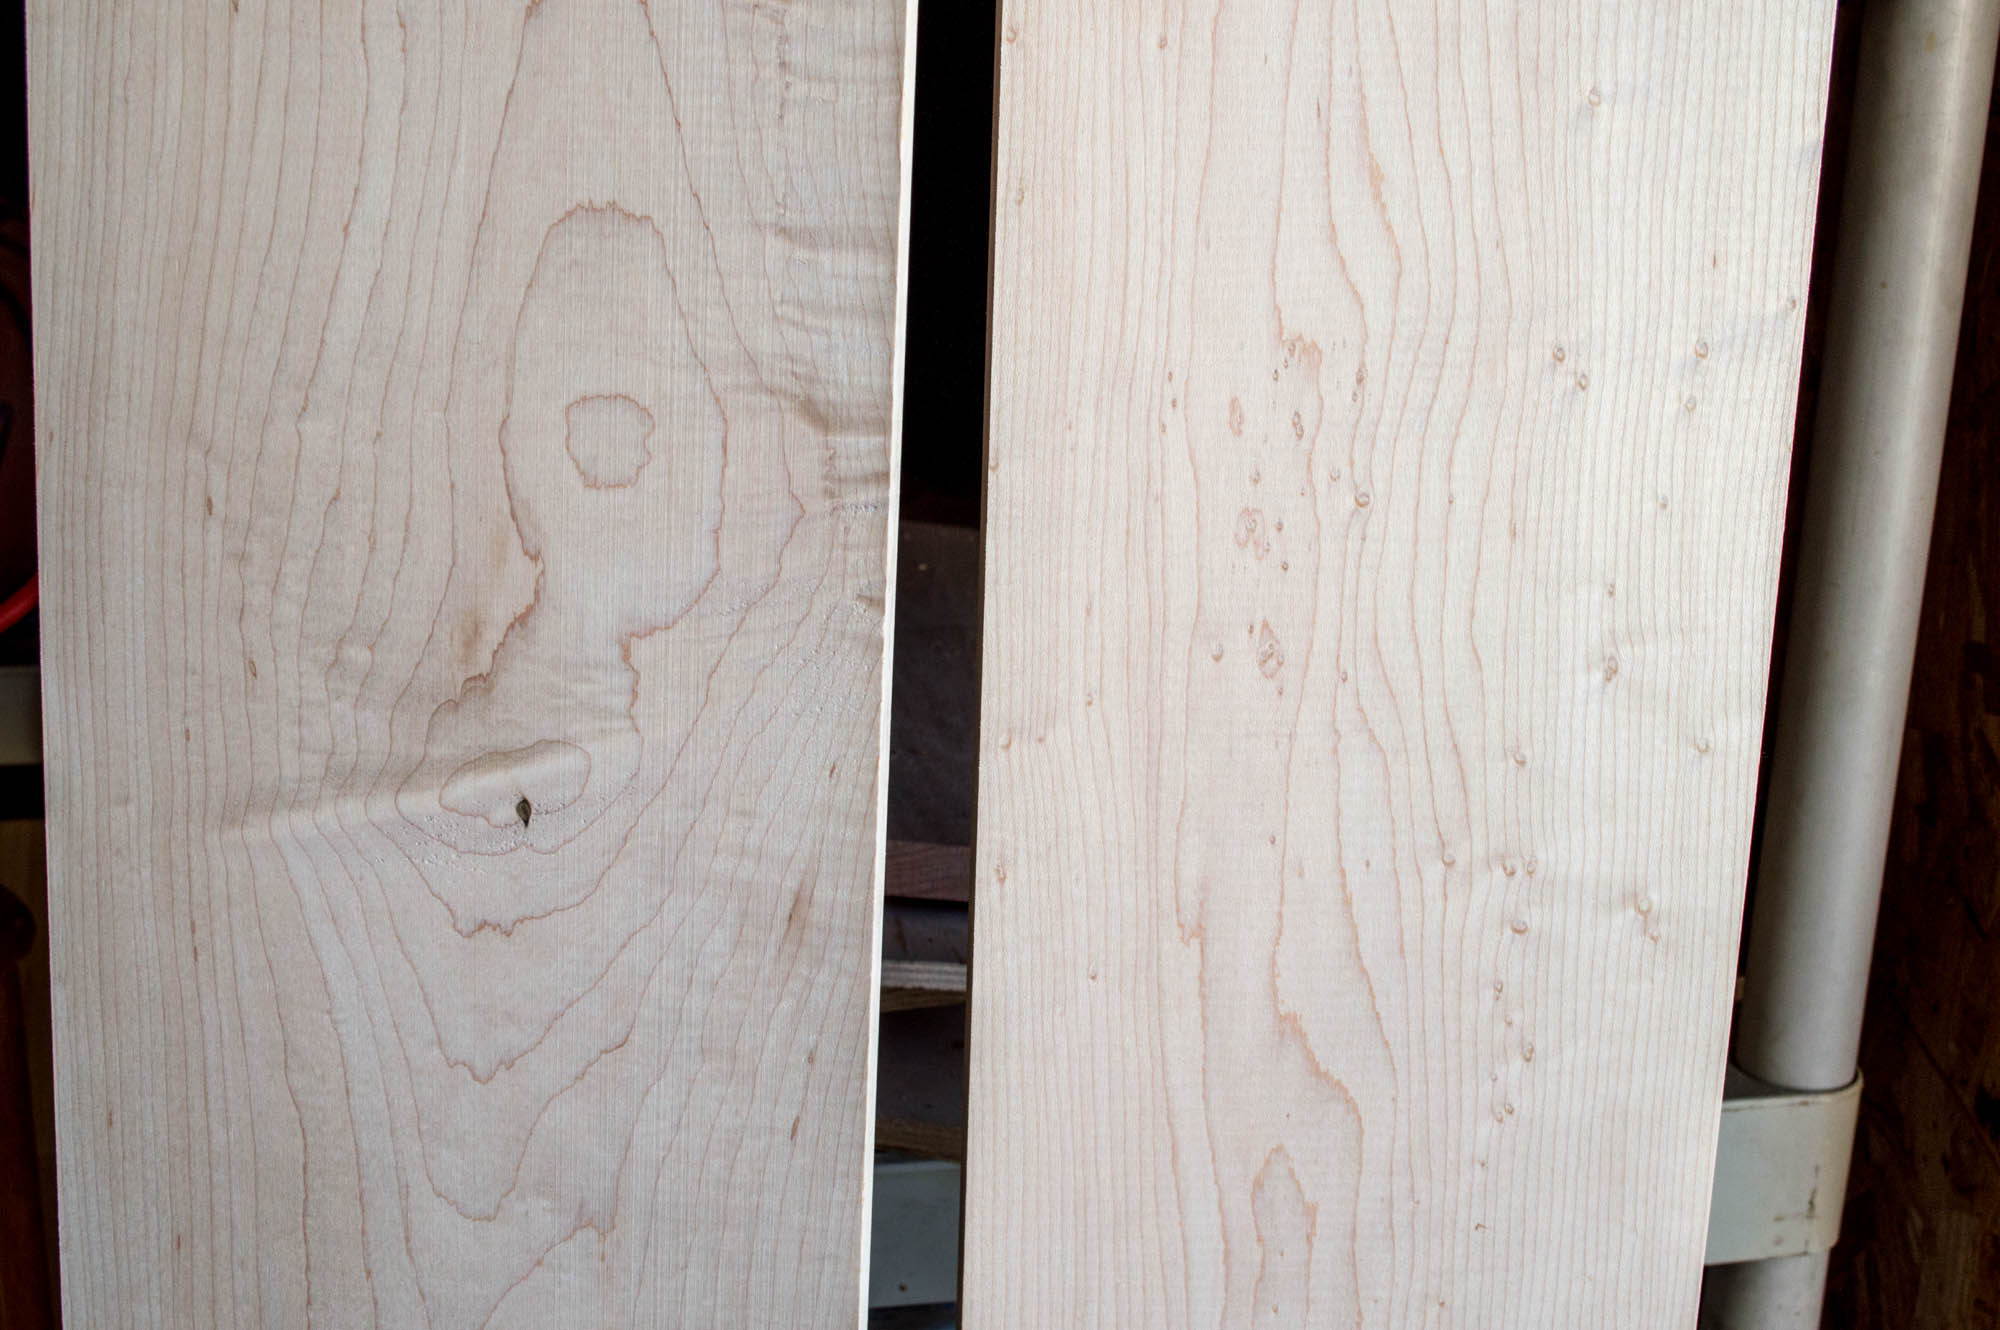
Usually I get my lumber from the bargain bin at Rockler, but this year they only had some unusable cut-offs of poplar instead of the S4S red oak that i’m accustomed to. Unfortunately I don’t have a jointer nor a planer, so purchasing some rough cut hardwood from the lumber mill was out of the question. The only viable option left was Home Depot. I scourged out two of the straightest maple boards I could find. They both had some relapses of bird’s eye figure, which was a nice surprise.
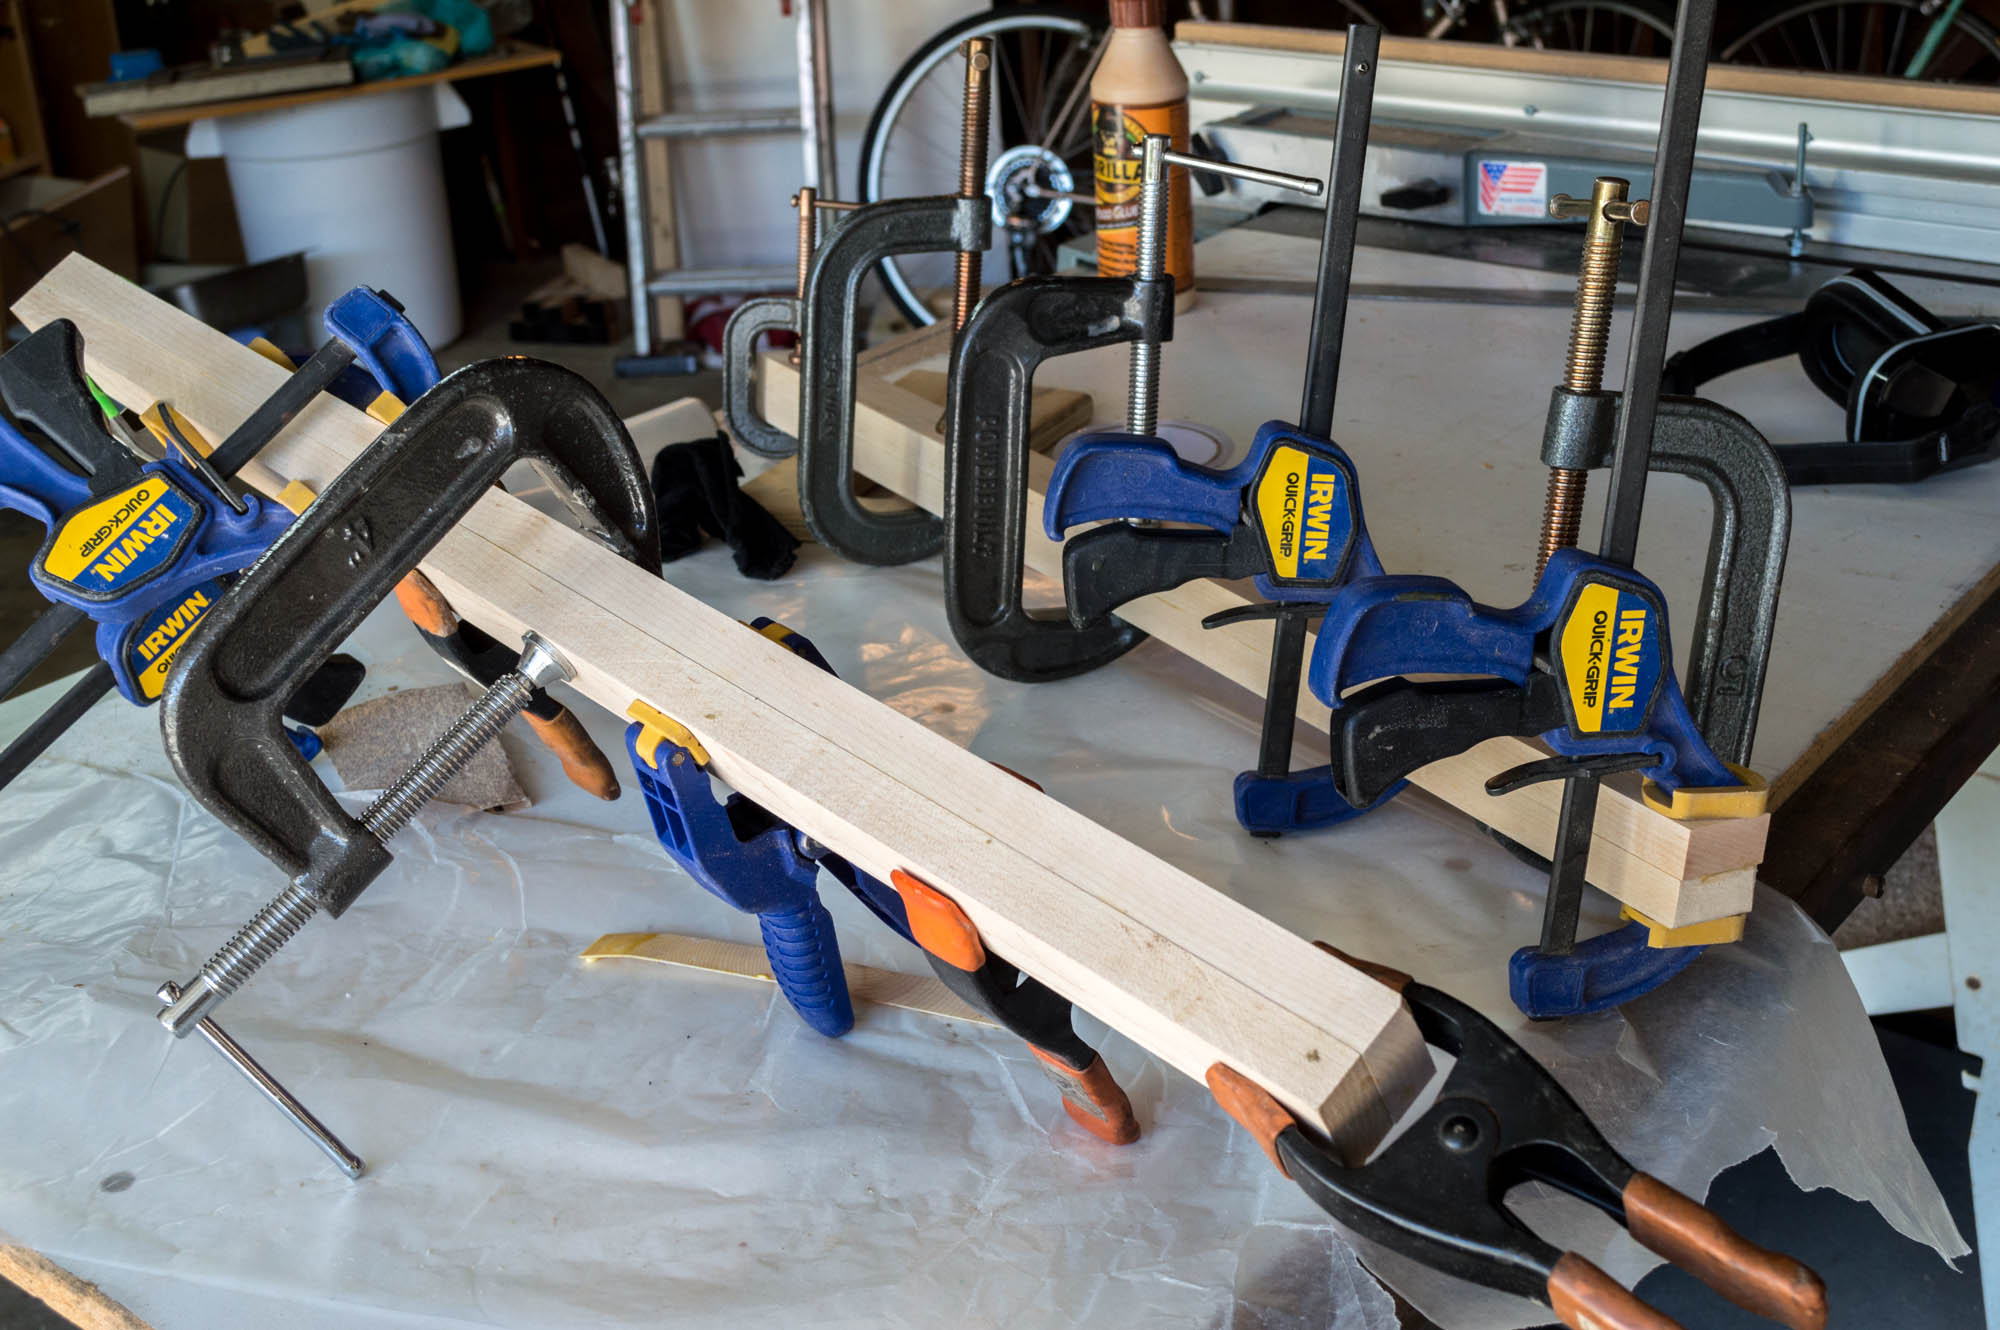

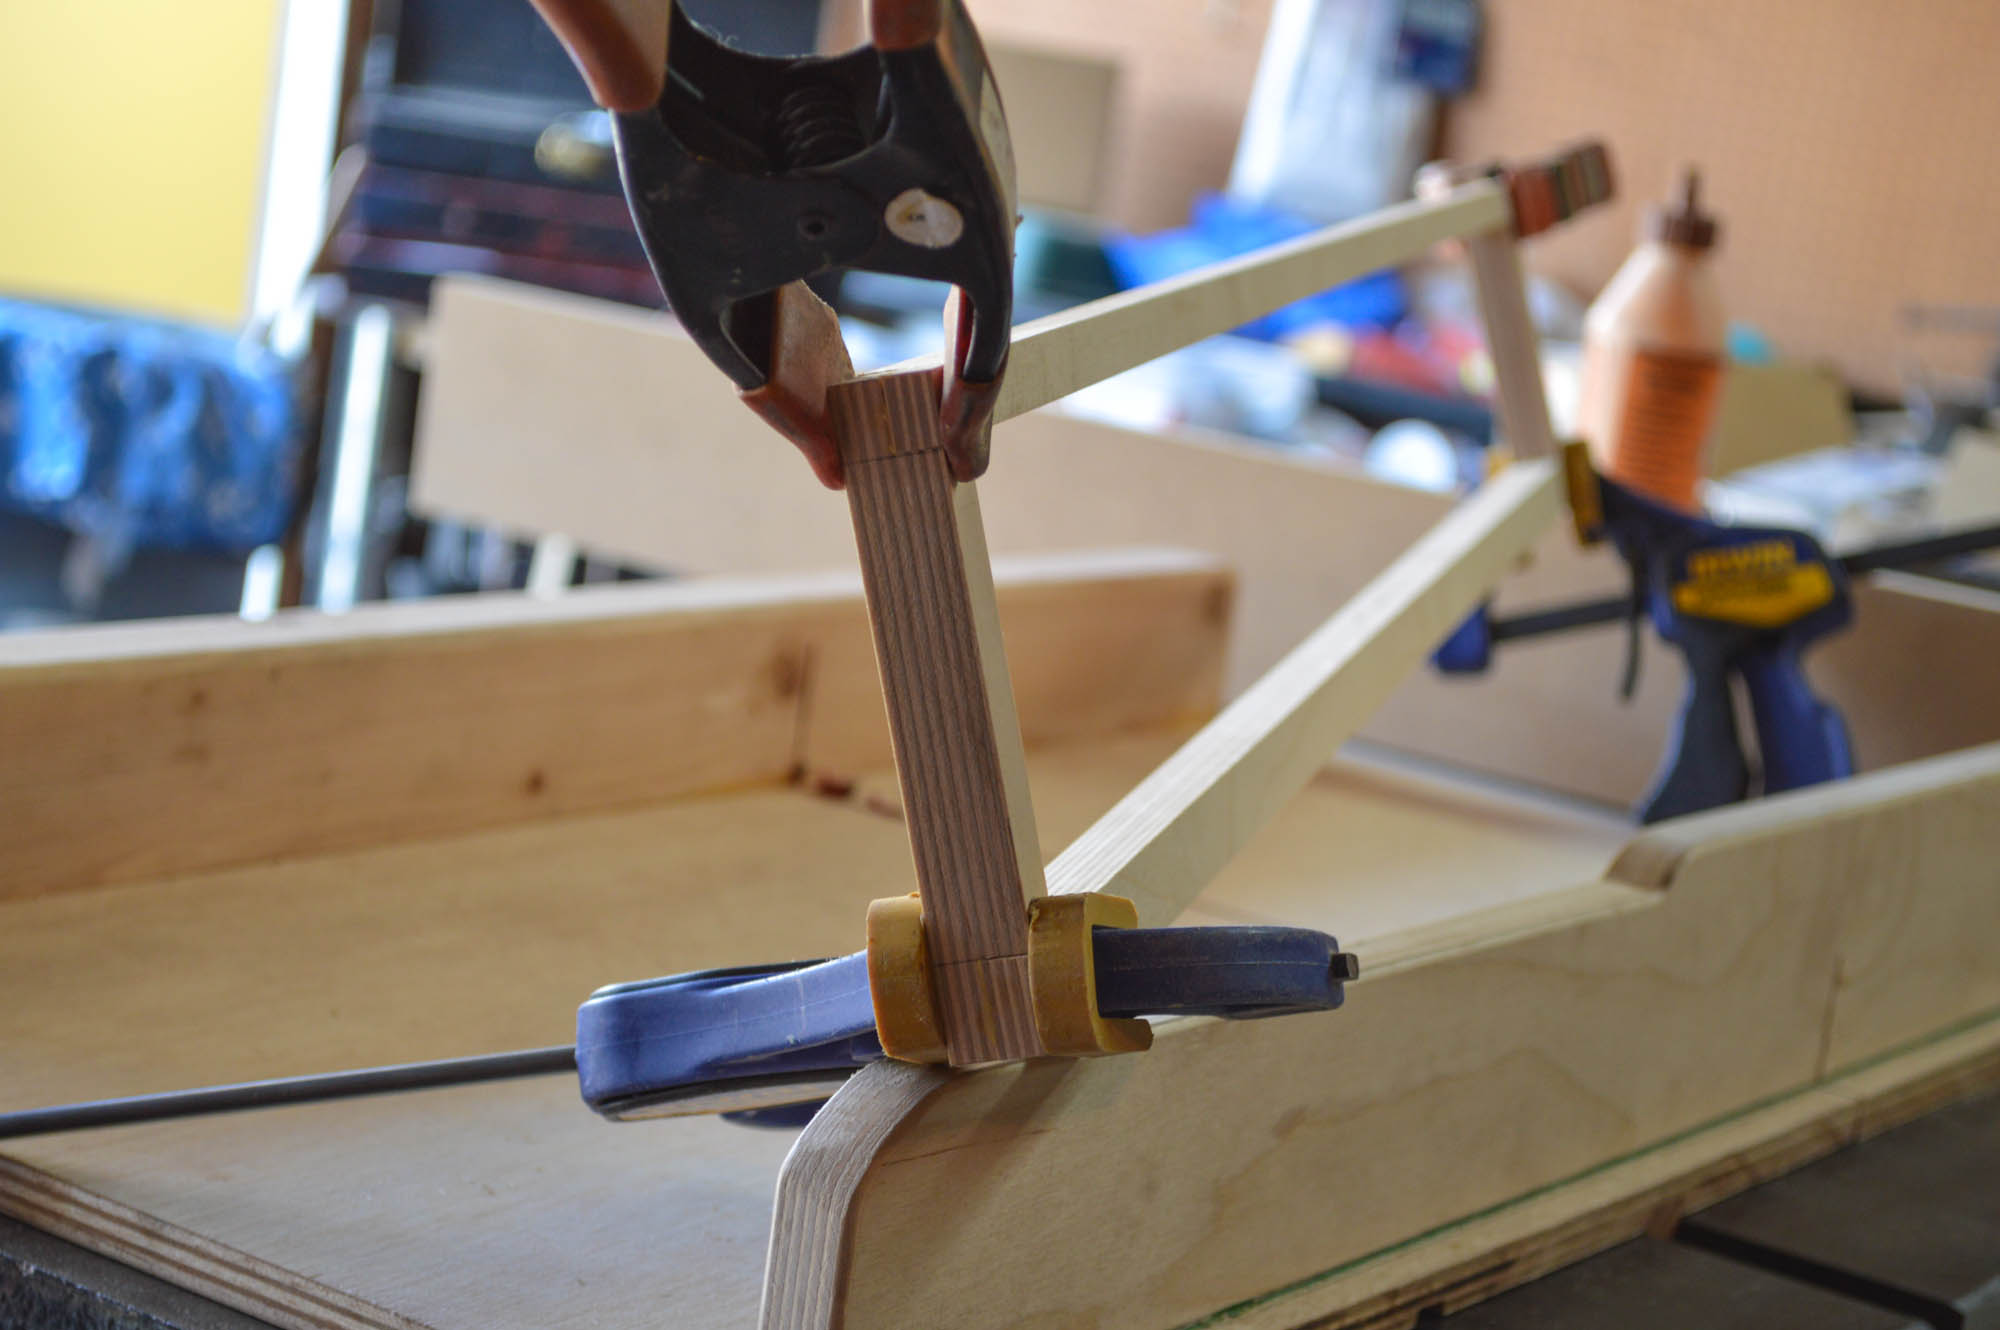
I ripped a board into 1.5″ strips and laminated them together into four legs. Each board was 0.75″ thick, so gluing two of them would make a neat square. Now I probably should have left some slack for planing the sides flush, but that doesn’t really matter on the grand scheme of things; just a little aspect of perfectionism. Also, it would have been ideal to clamp the boards to a flat surface instead of letting them free hang like this. In my previous builds, some legs became slightly curved and uneven during clamping. Fortunately, these boards were flat enough on their own so that the table didn’t wobble.
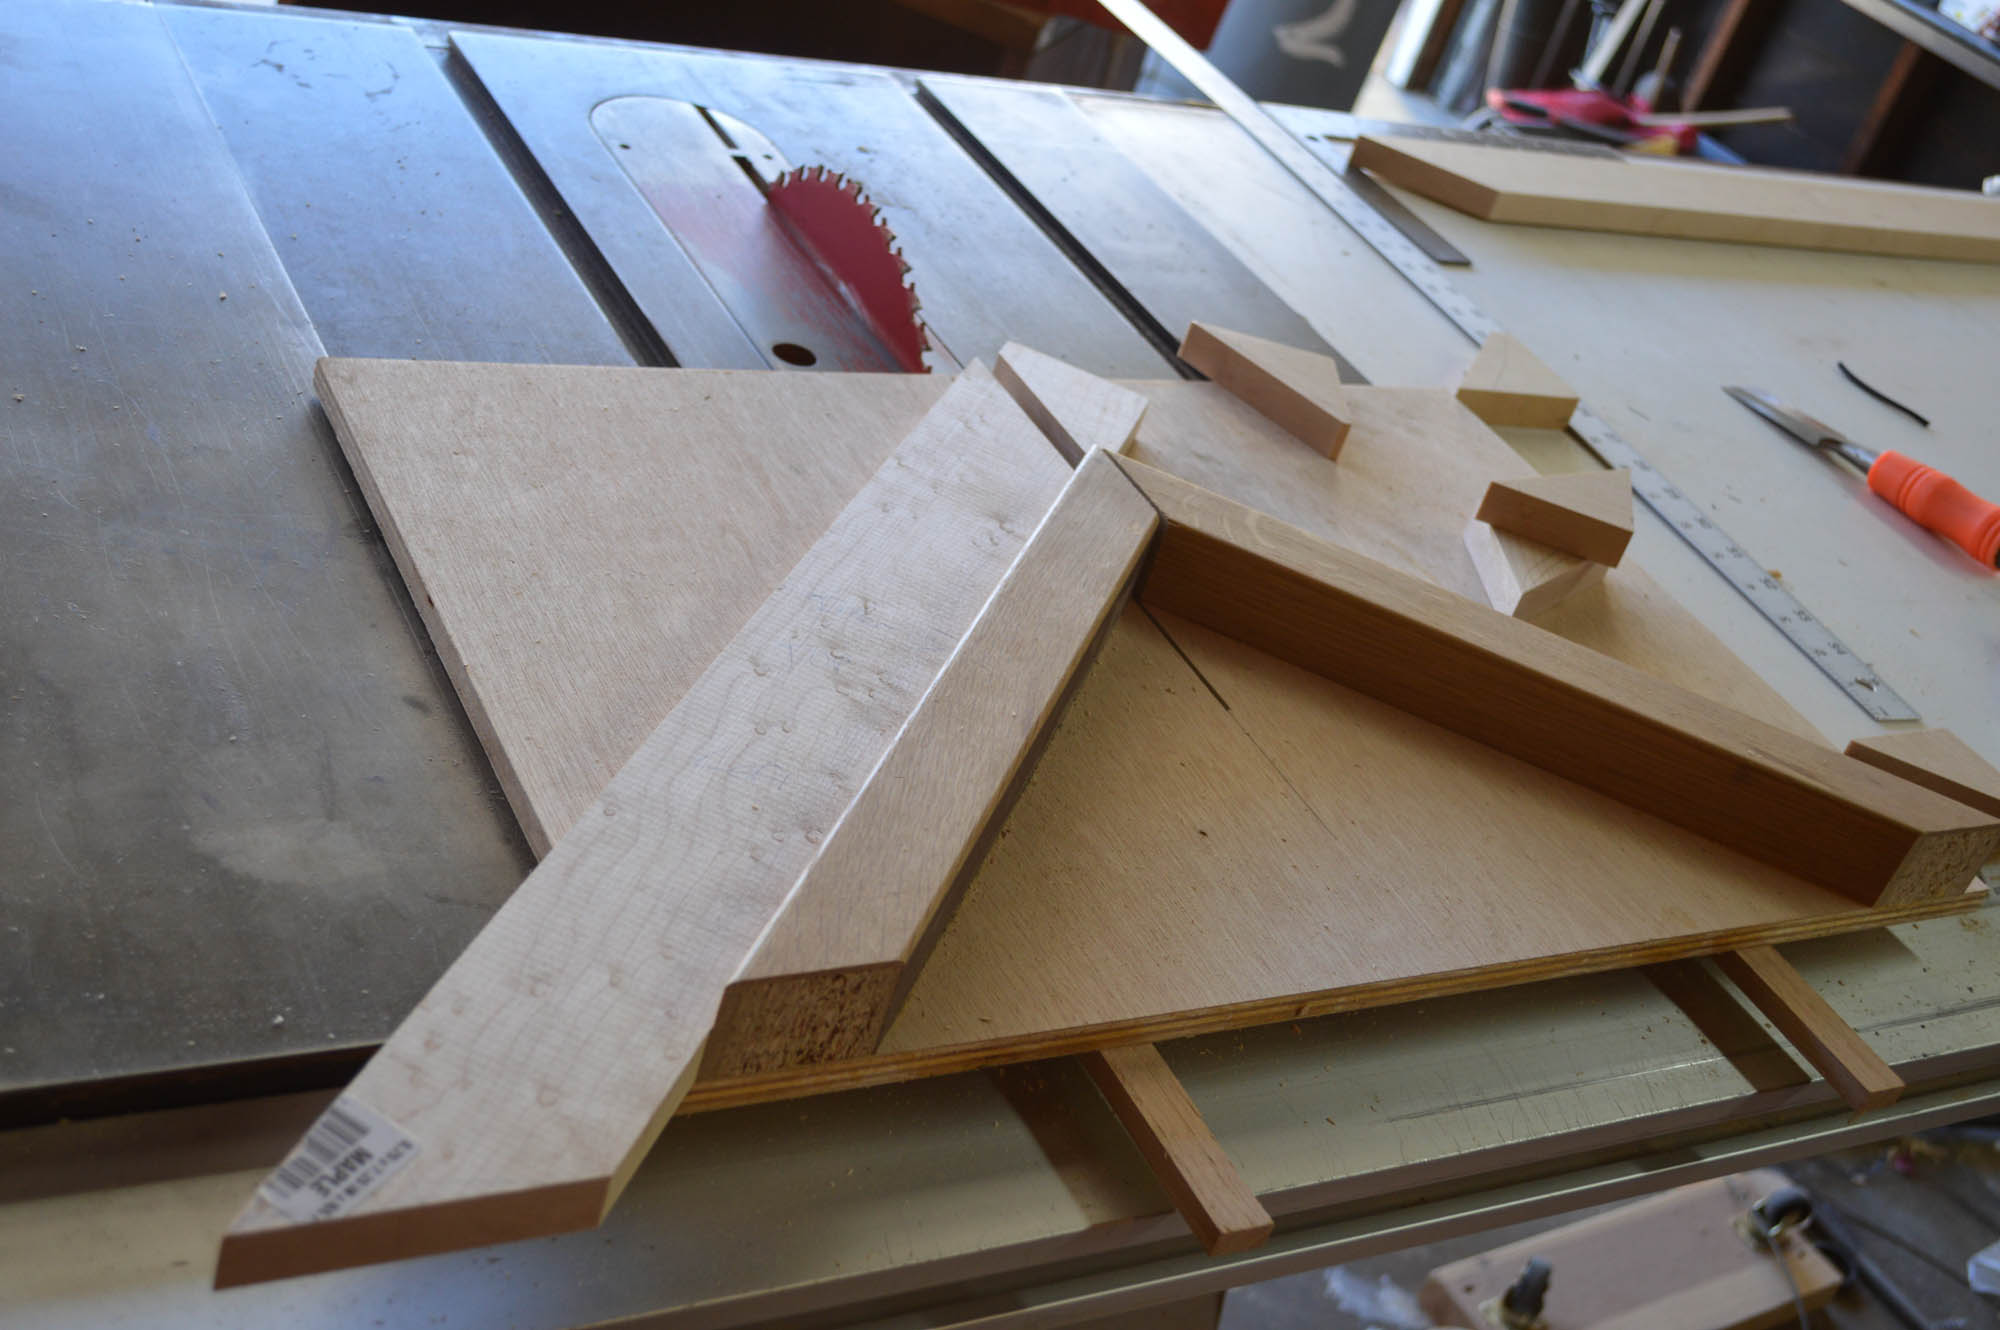
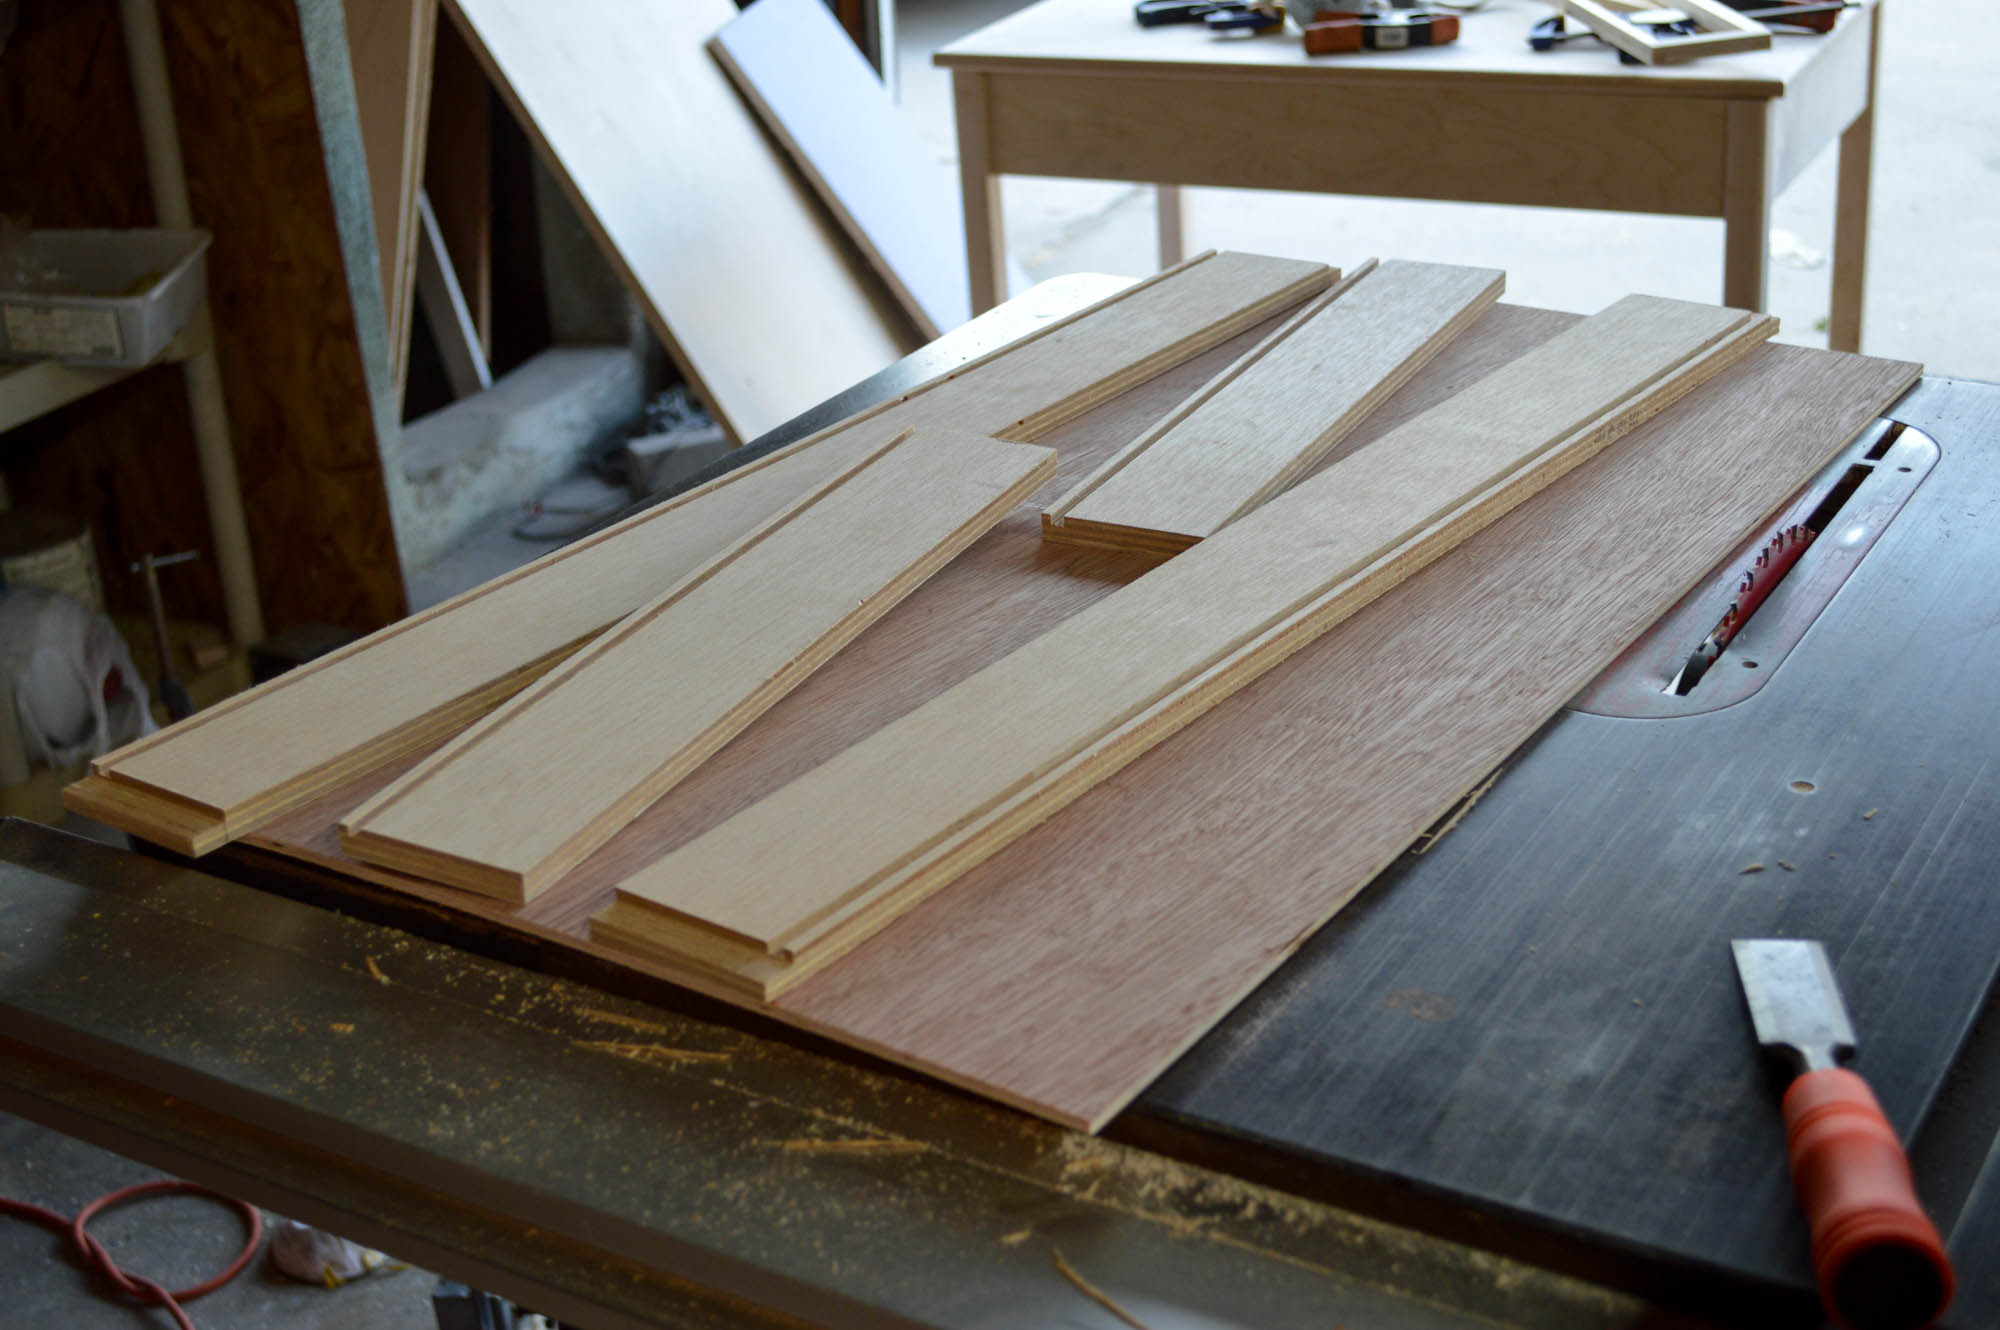
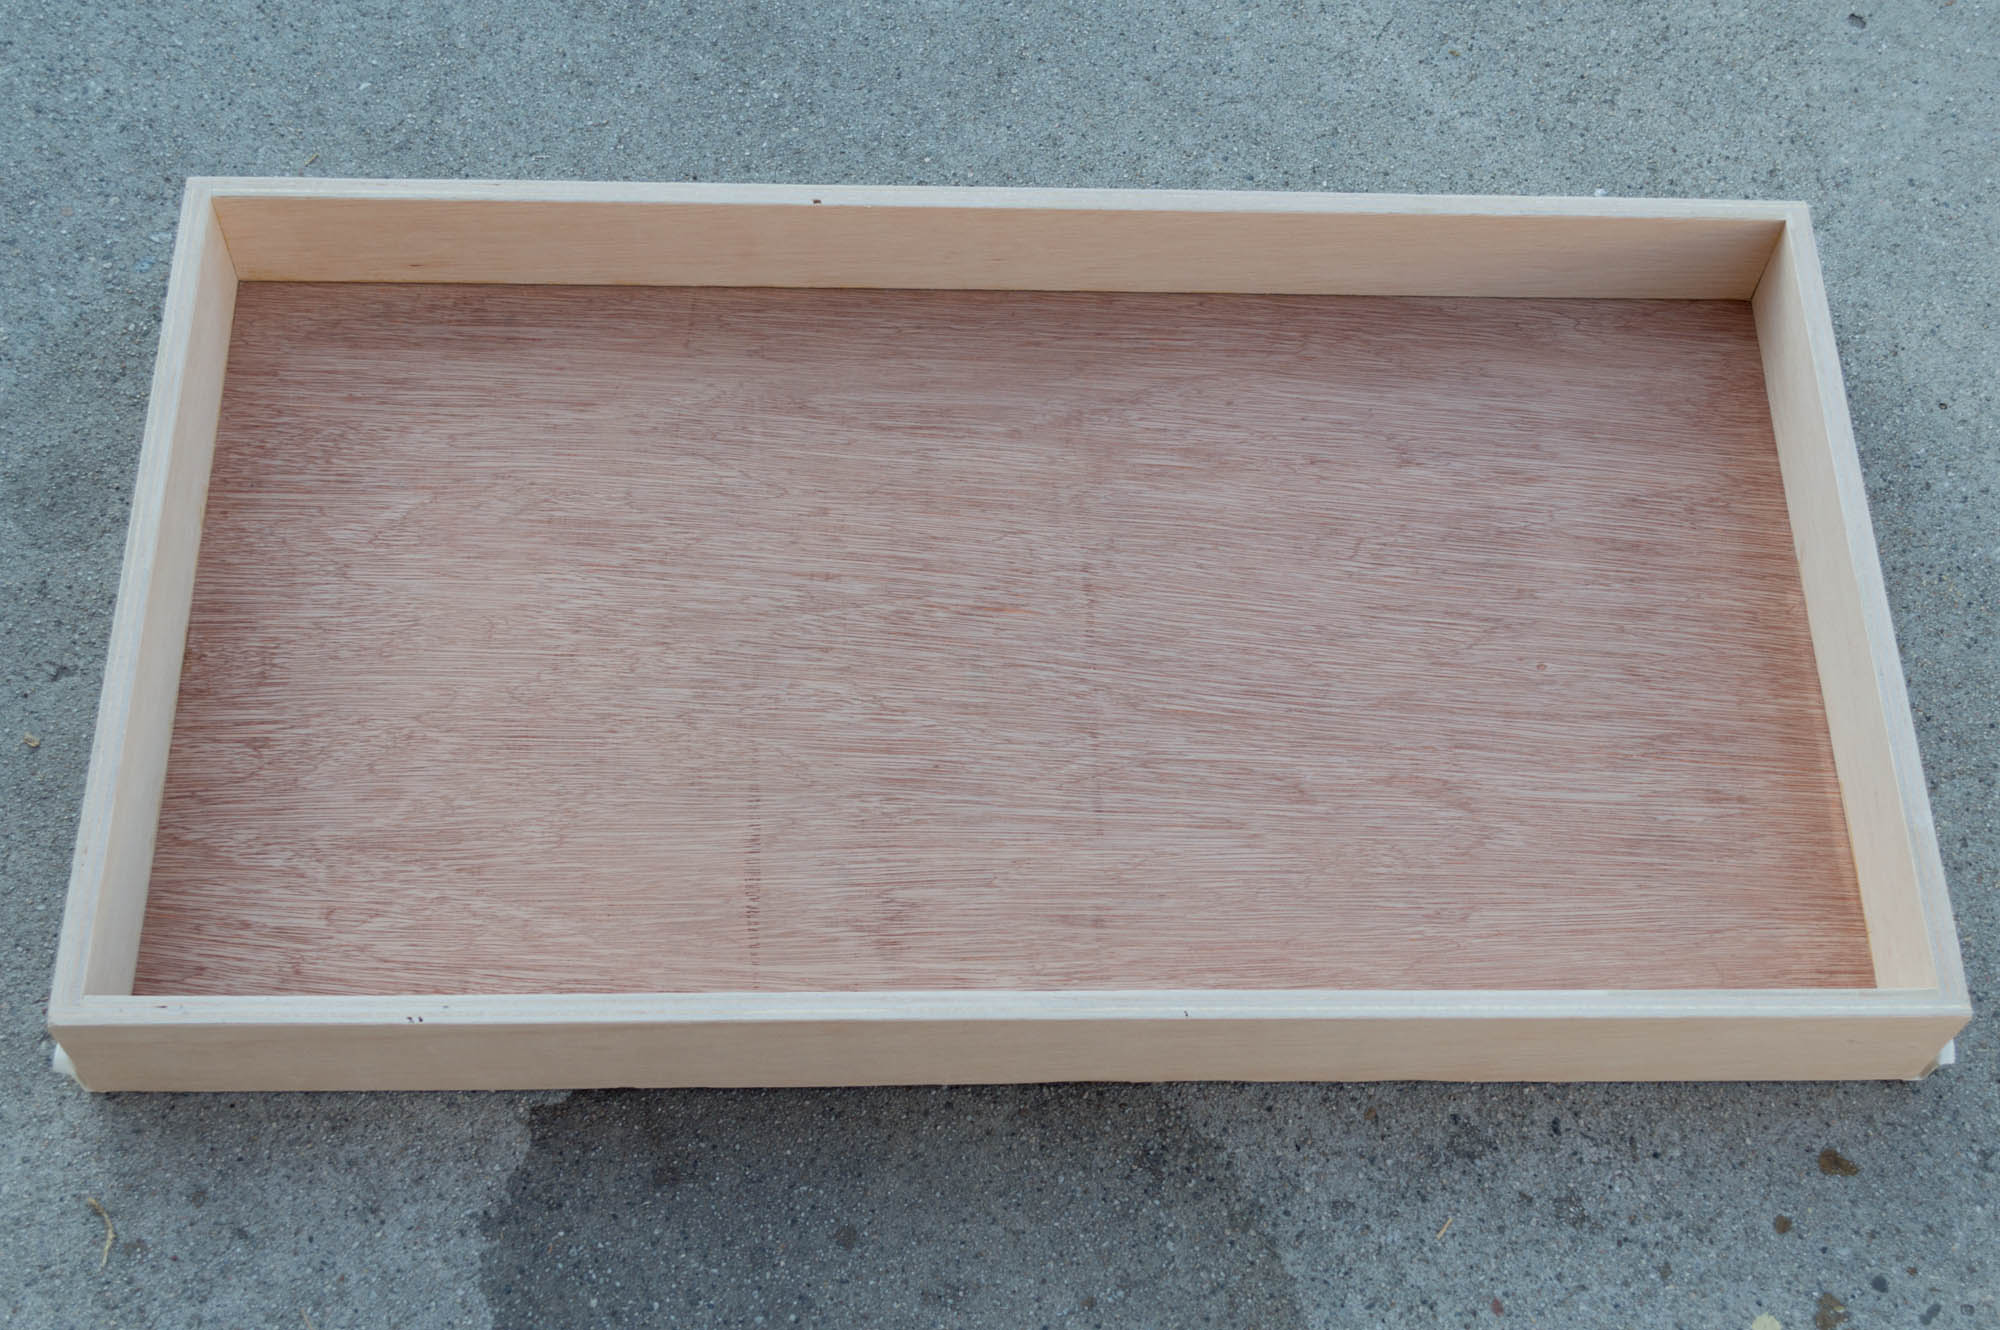
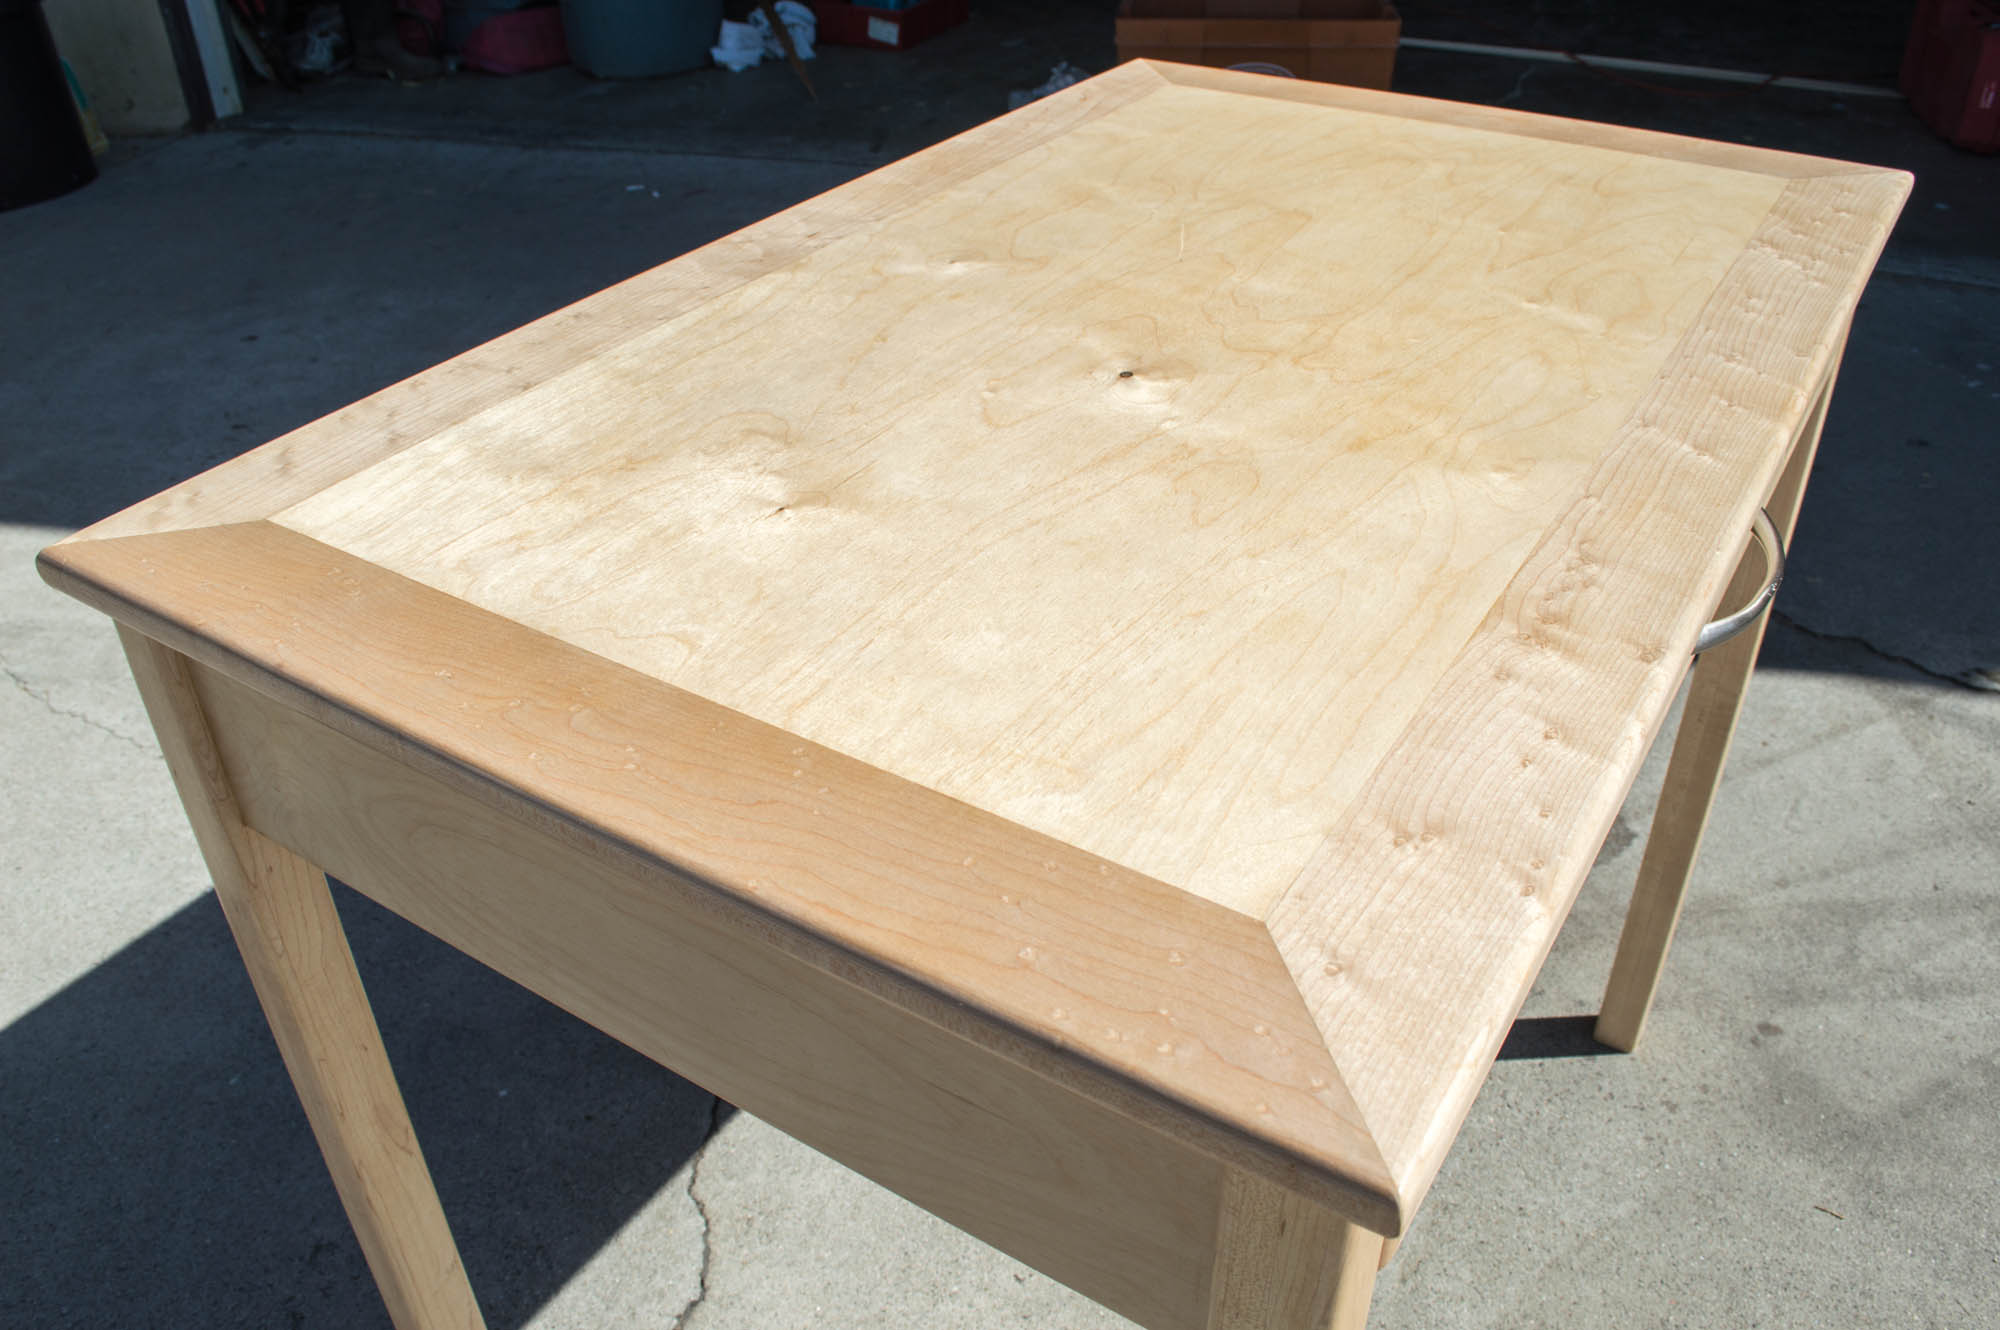
I built a miter sled using Steve Ramsey’s design, and cut the outside “bezels” of the table top. For the interior piece, I used baltic birch plywood because I didn’t have enough maple to make the whole table out of a single medium. Baltic birch is similar to maple in tone and color, and also fits the overall theme of “luxury” that I was trying to achieve. If I had the funds, I could have used something like dark walnut to contrast with the white maple. Red oak was within my means, but the color scheme of red and off-yellow just seemed wrong.
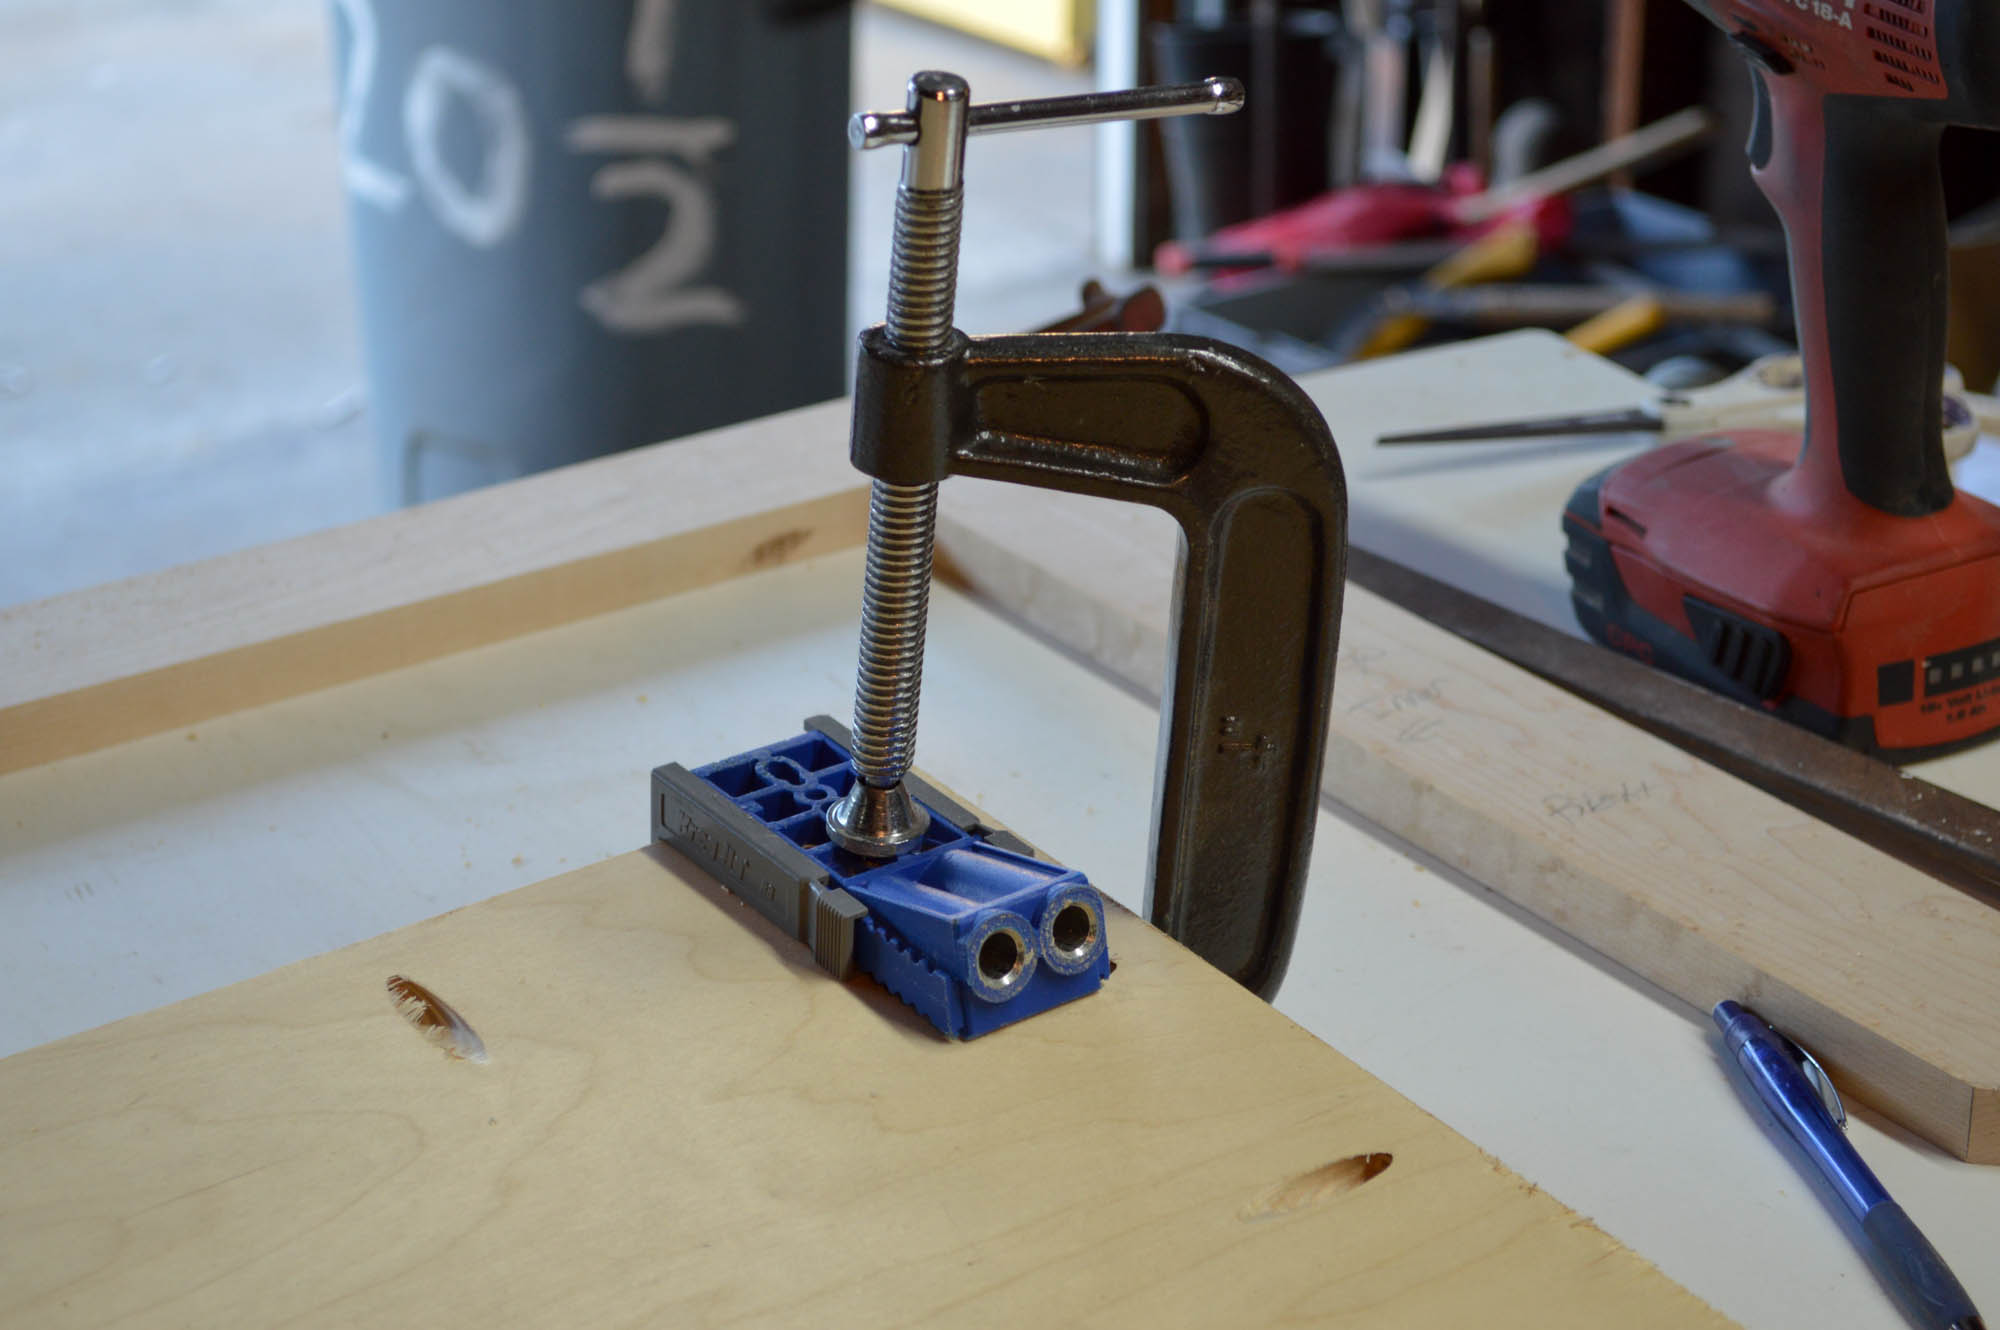
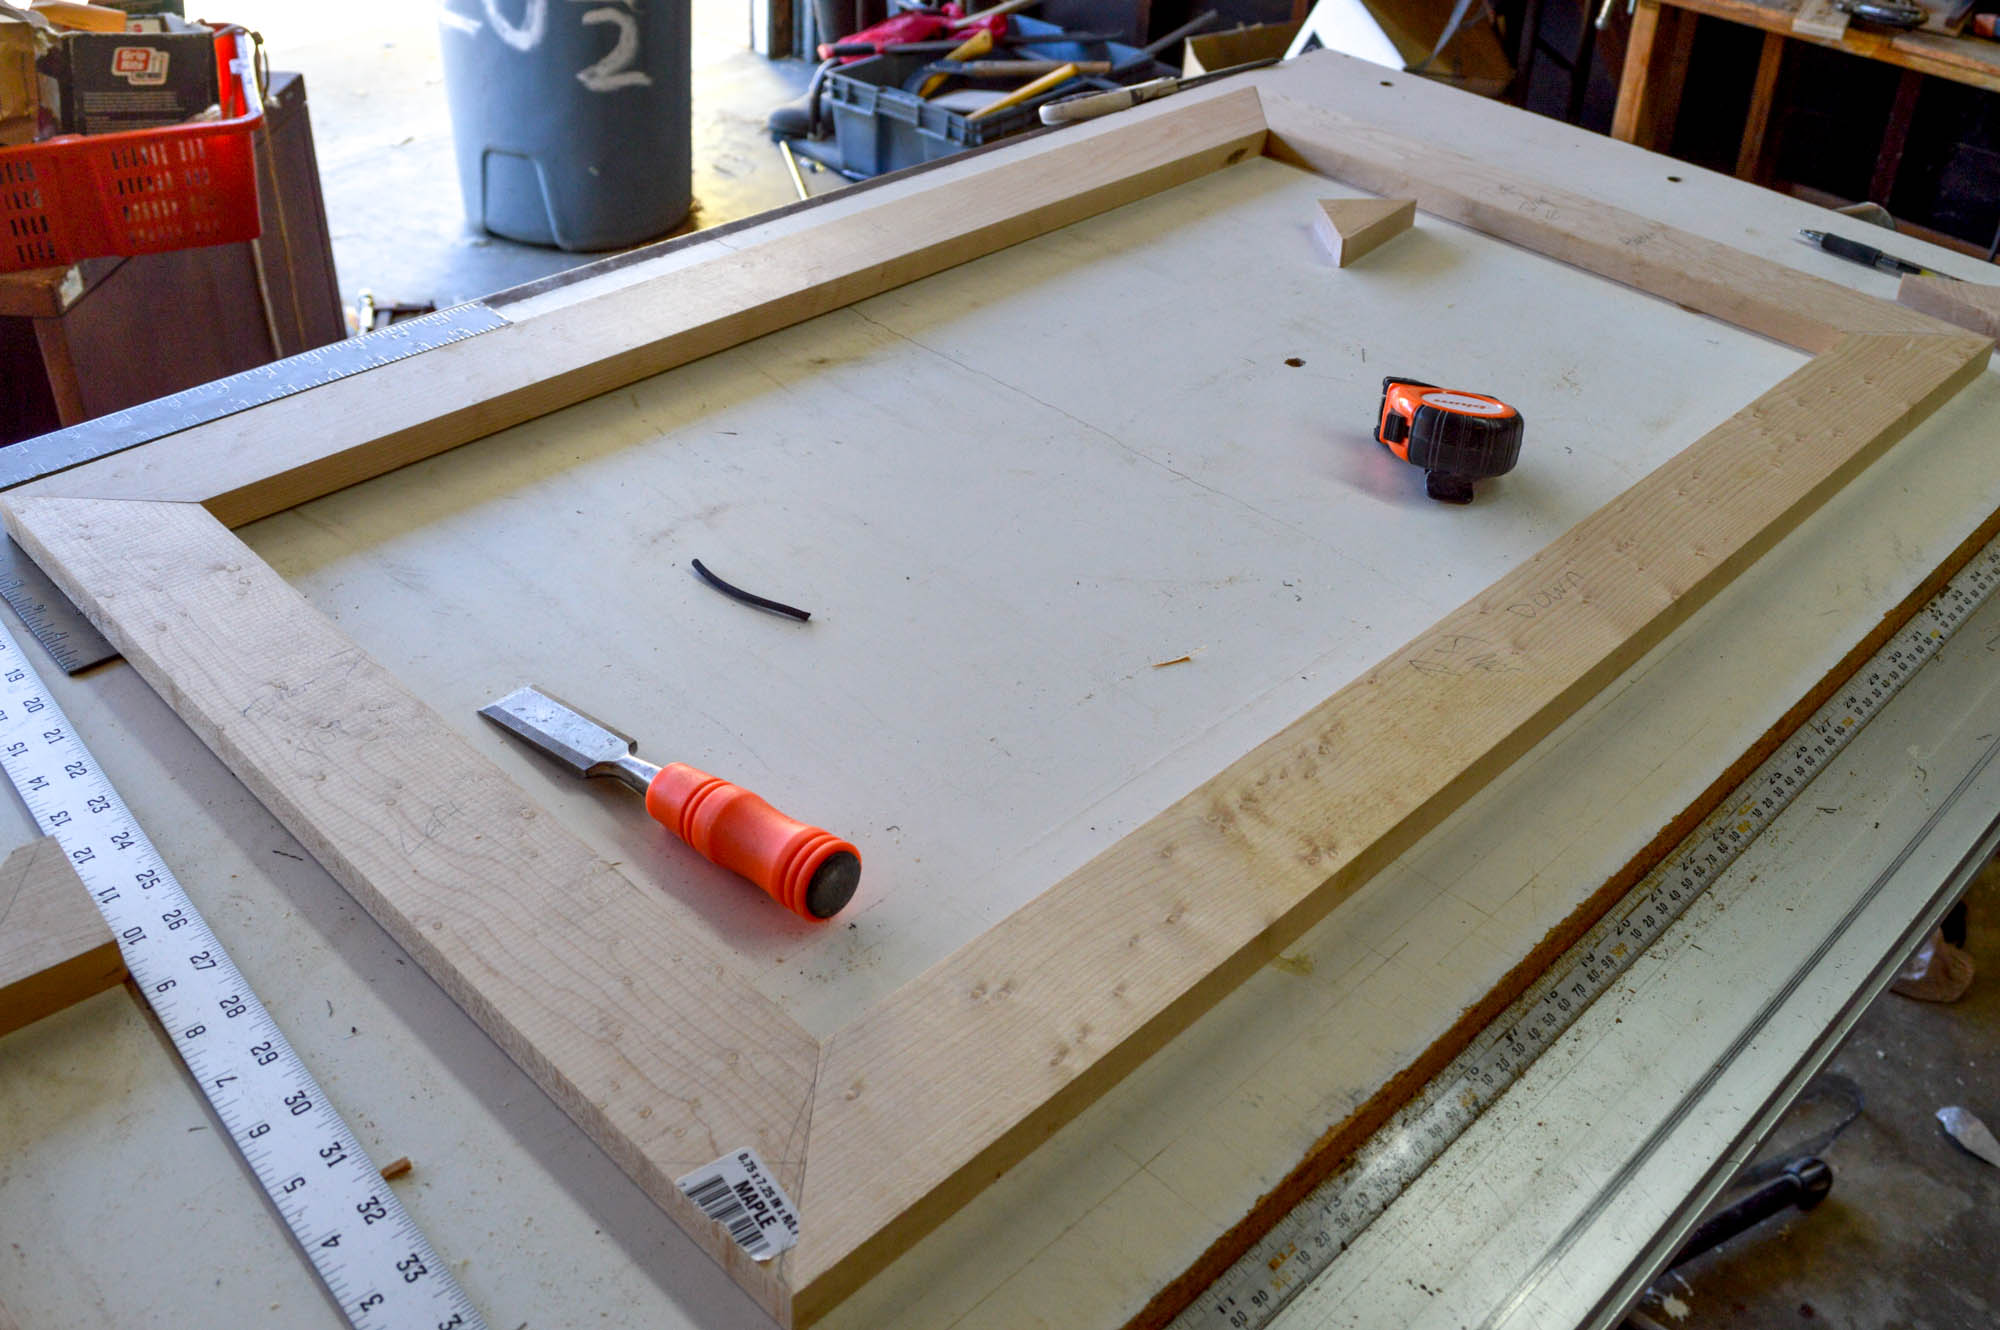
I used a pocket hole jig to join the middle board with the outside bezel of the table top. Now there’s something intrinsically amateur about using this jig. It isn’t as strong as traditional joinery like a mortise and tenon. In the simplest terms, a hole is drilled into a piece at an angle. A specialized screw punctures through the hole and joins the neighboring piece. It’s quick and relatively strong… but it’s too easy. I ought to be weening away from this type of woodworking because it’s a crutch of sorts. My reliance on this thing has kept me from learning actual joinery techniques. Well, to justify my case, I don’t have alot of long reach clamps or specialized machinery to warrant high end joinery. But I do have enough to break away from pocket holes. I’ll be sure to do better on my next table.
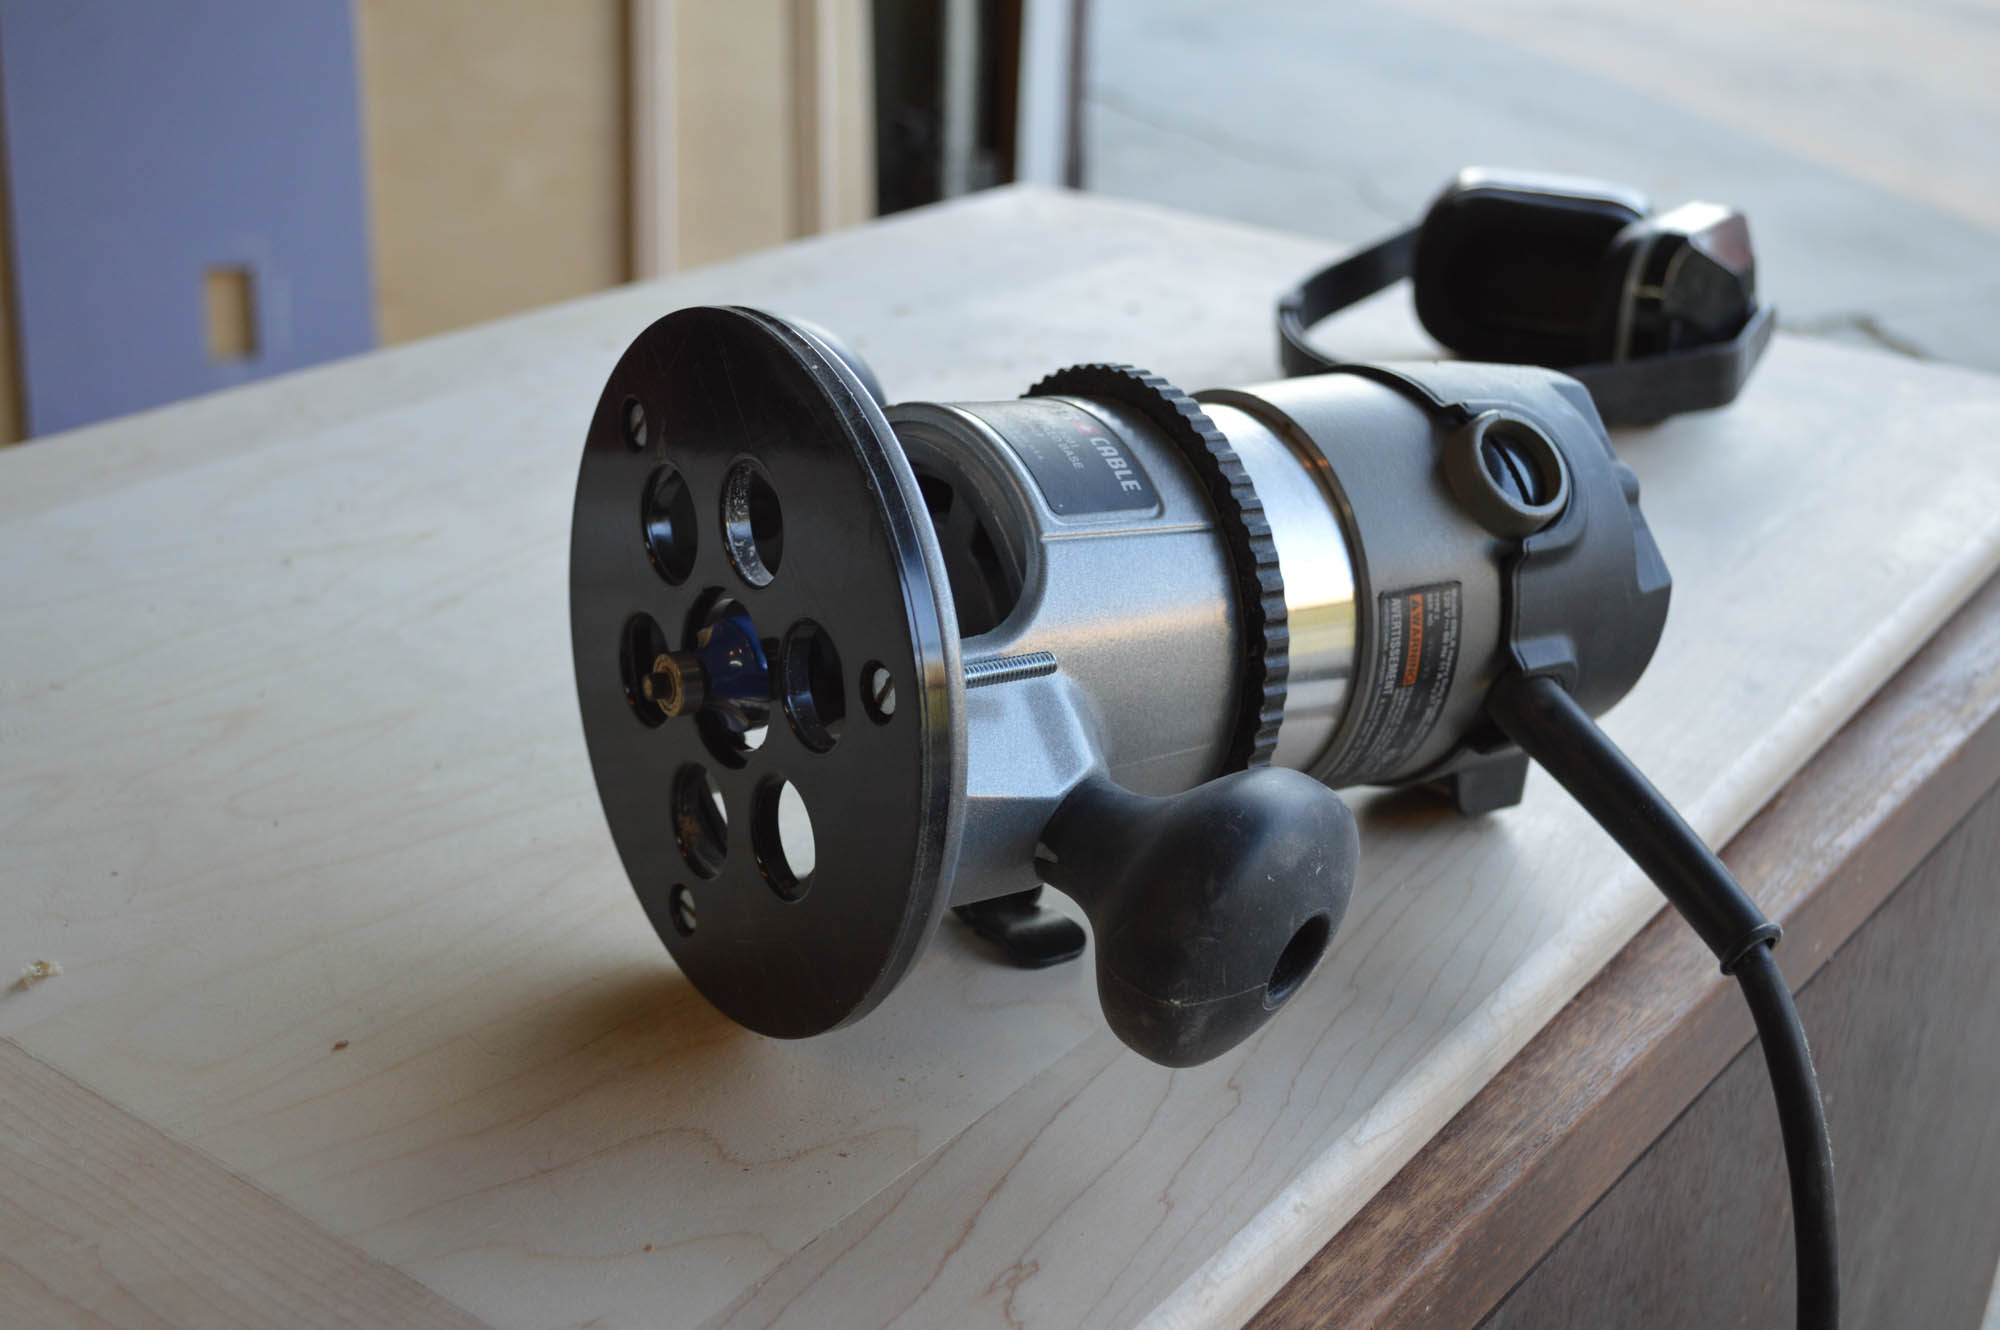

With the table top glued and joined, I planed the miters flush and added round-overs on all the edges. For the top and and legs, I used a half inch router bit because the maple is thick enough to warrant it. For the apron pieces, which were baltic birch plywood, I used a quarter inch round-over bit because I didn’t want to remove too much material and reveal the ply endgrain.
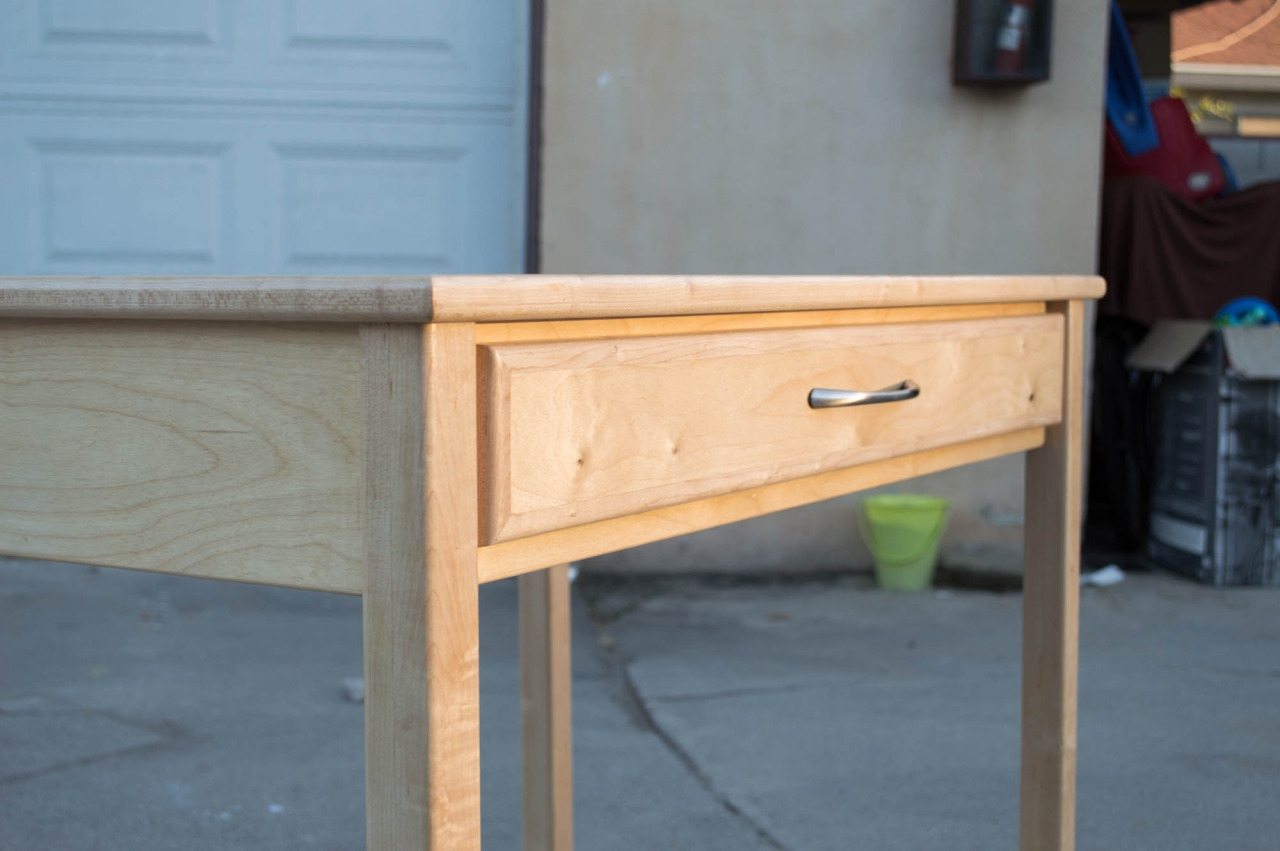
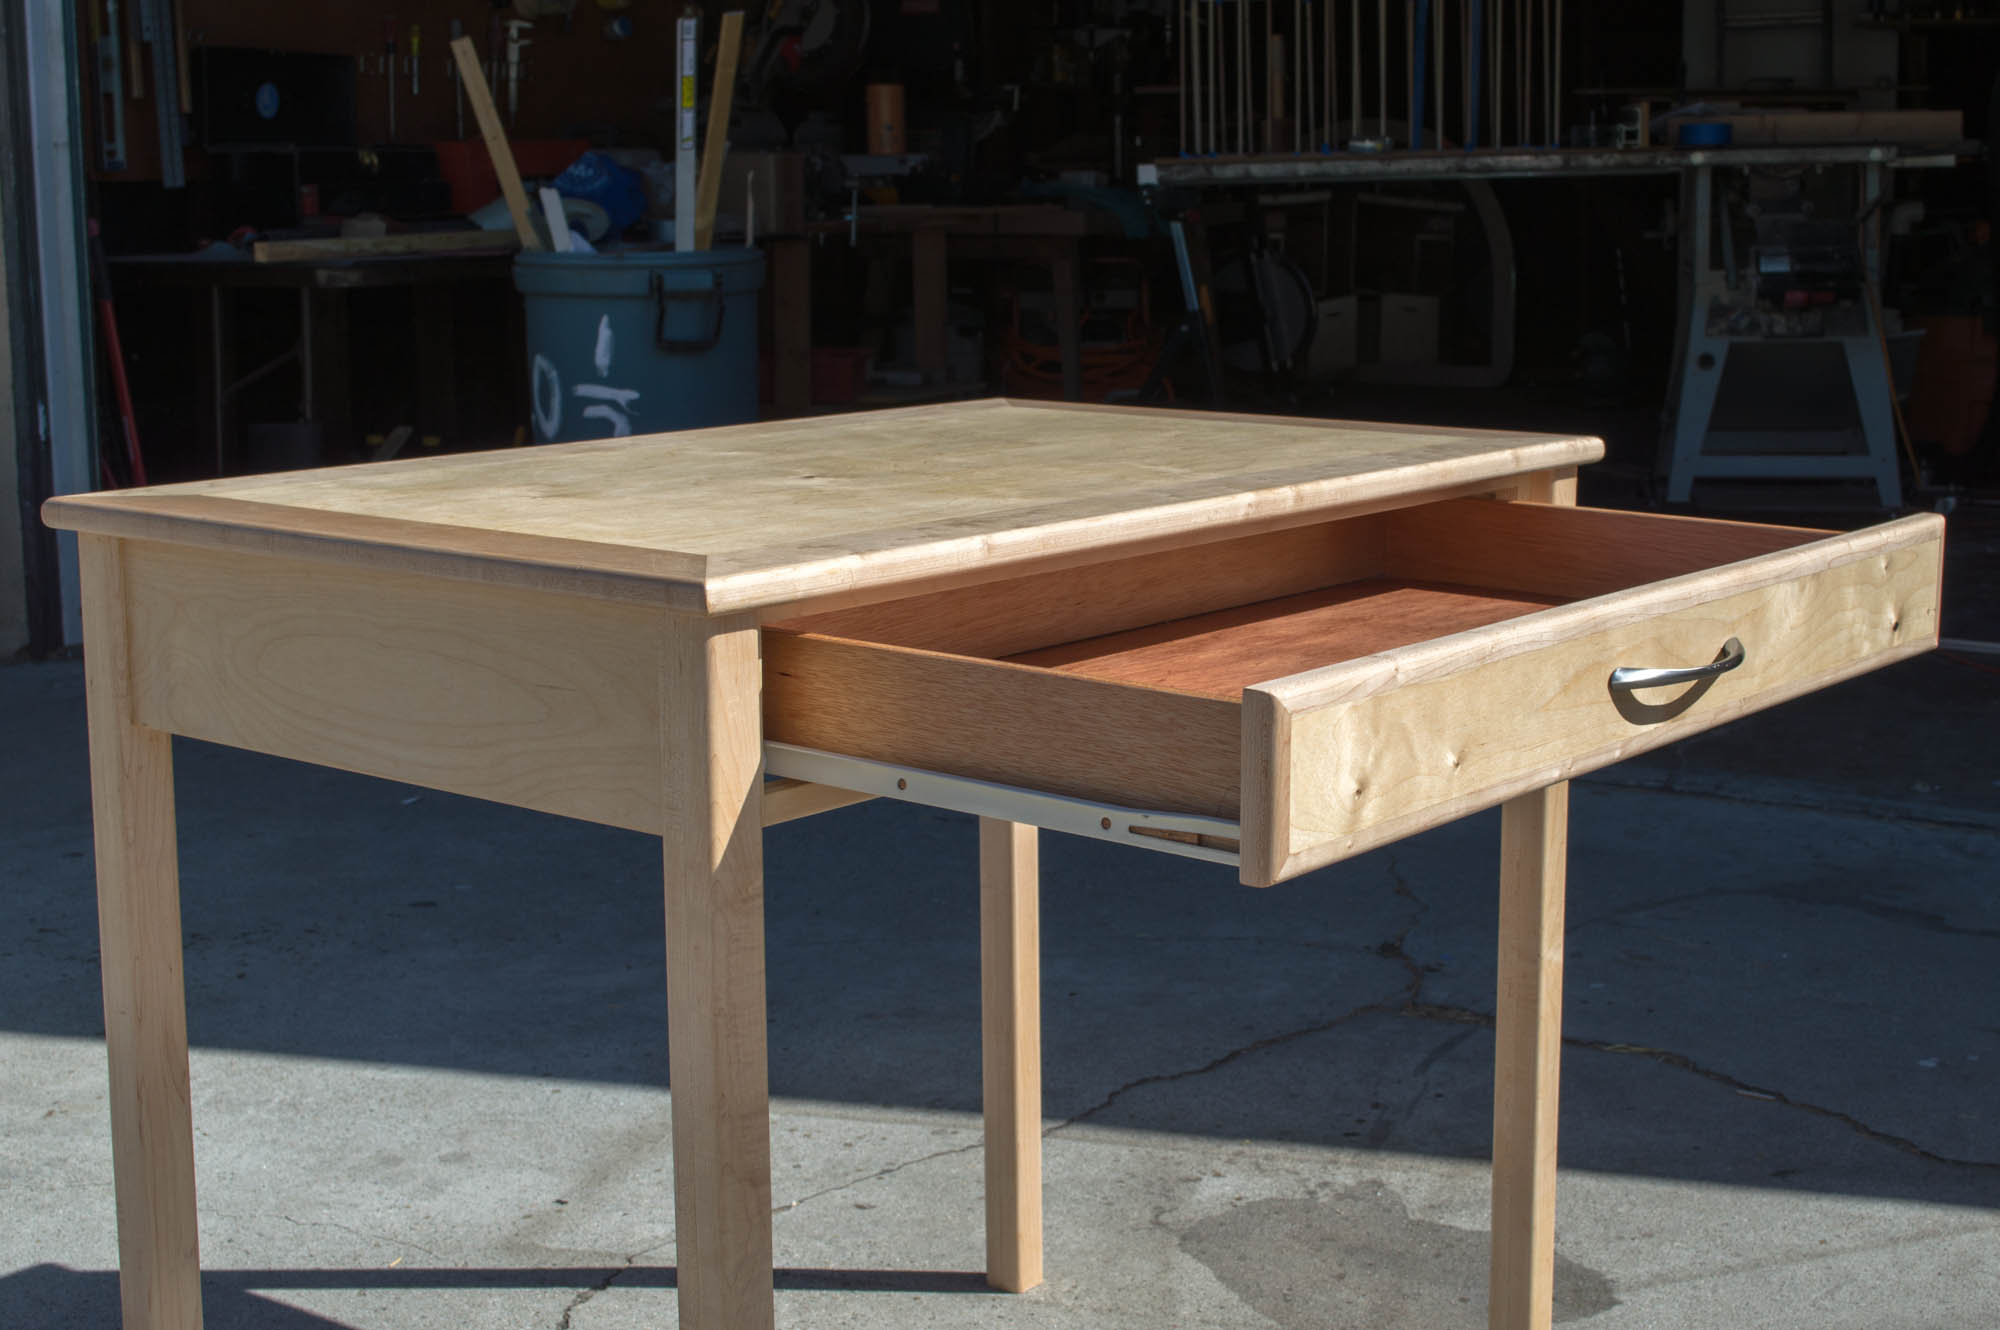
The drawer was made out of cheap half inch pine ply. The wood isn’t that bad. It’s definitely five steps over framing plywood, which is inevitably crusty and riled with holes and unpleasant in every way. This pine ply has no gaps at all and is as straight as it could be. My only problem is that the end grain splinters alot and the top ply rips up sometimes. For my purpose, this was fine. I should have continued the theme and used baltic birch for the drawer… but eh. I reckoned that drawers shouldn’t be too thick, but it’s all arbitrary in retrospect. In contrast, the bottom base board was really awful. It was quarter inch luan ply, which is barely a step above MDF and particle board. The top ply is literally thinner than paper and tears out everywhere. But it was the thinnest board that I had at the time. Nothing I could do about that.
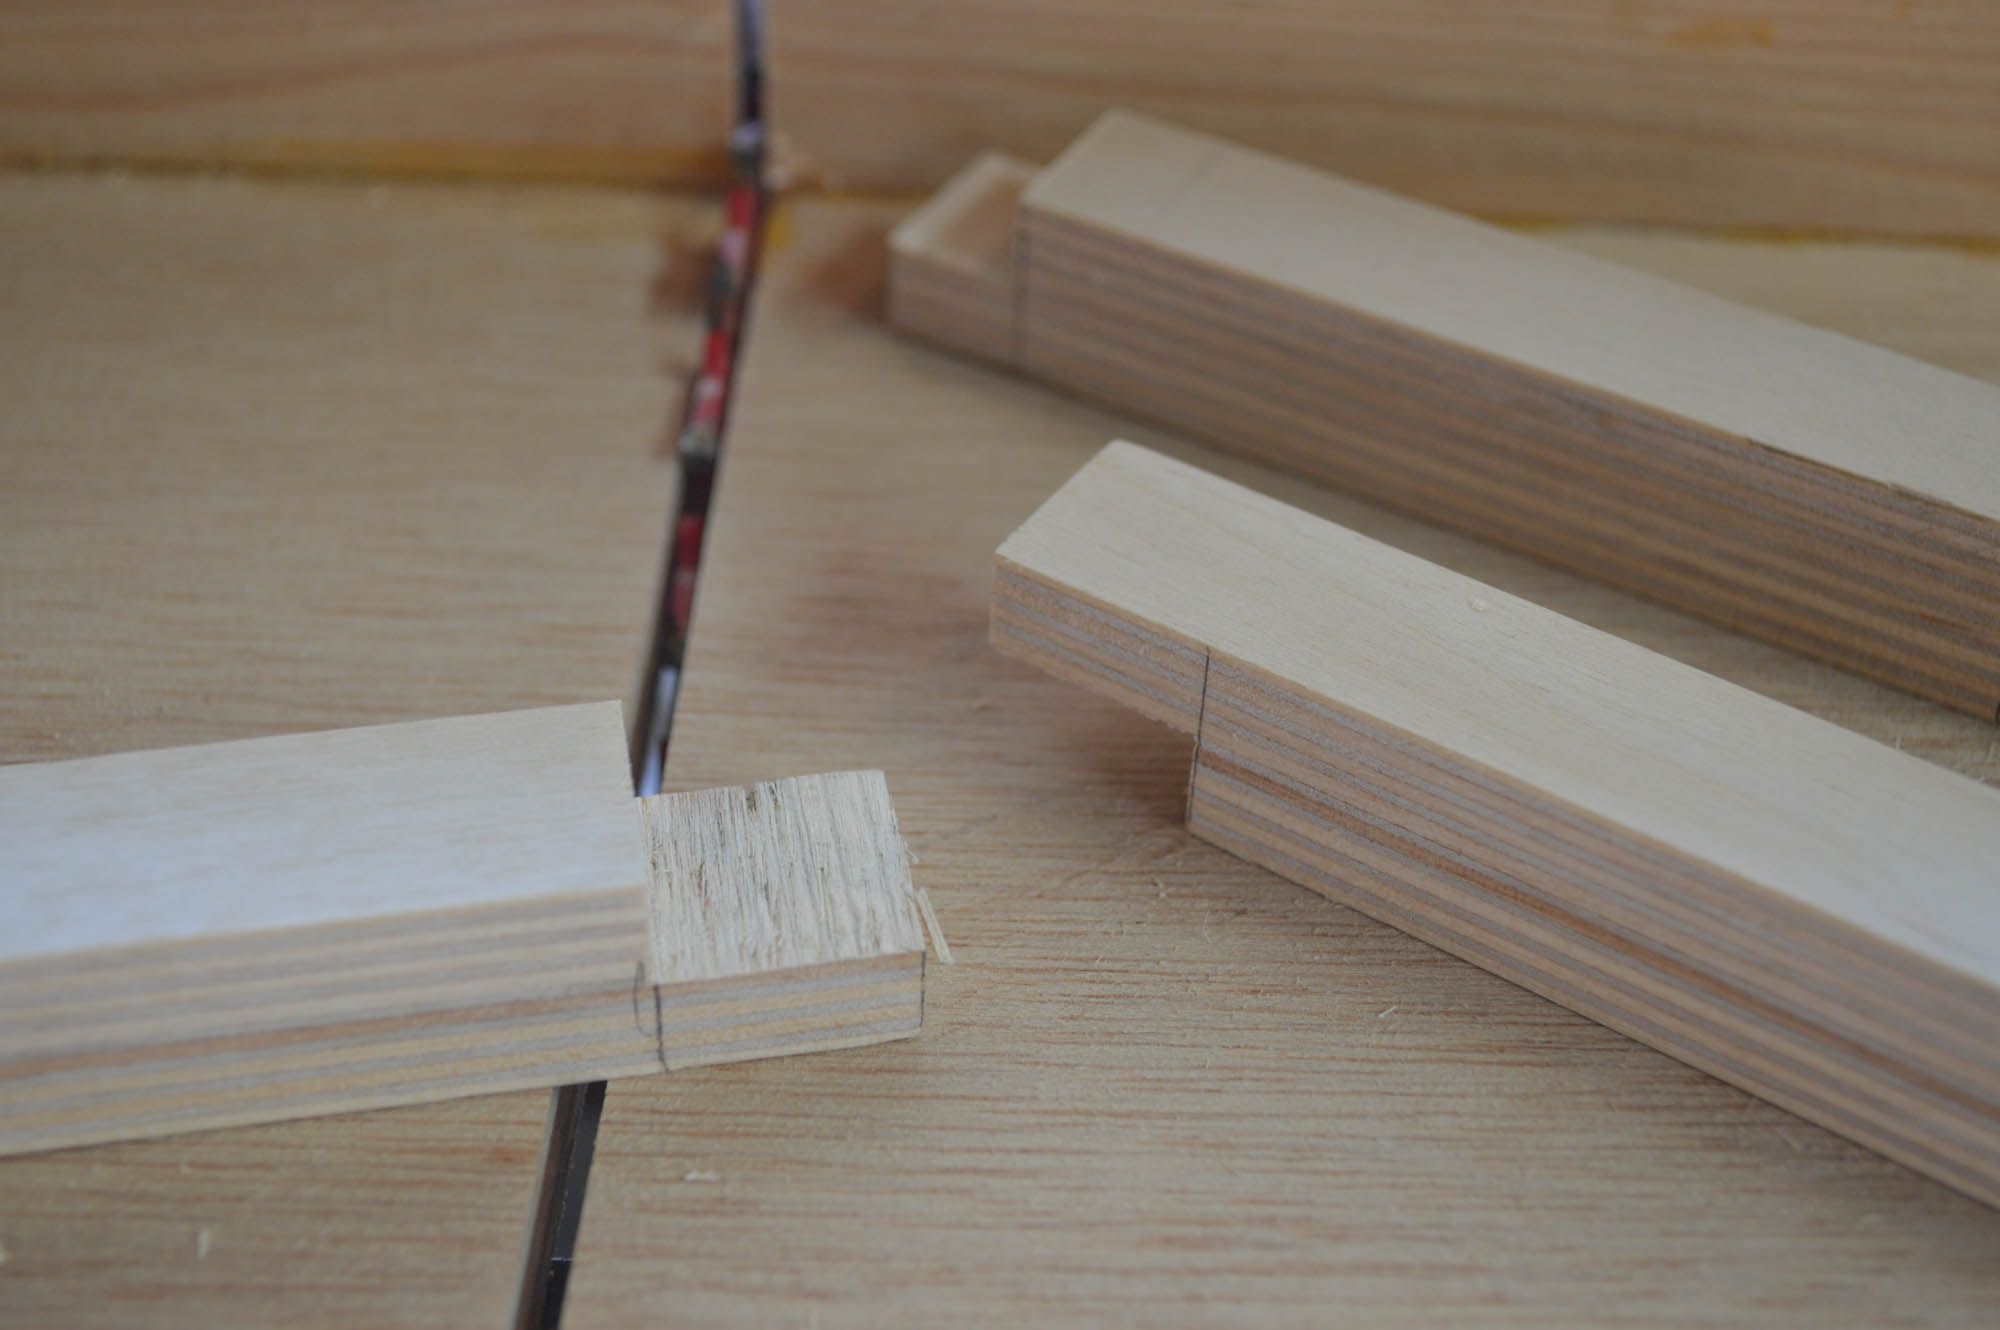
The faceframe is essentially just a plywood rectangle made with half laps. It is glued straight to the legs and tabletop.
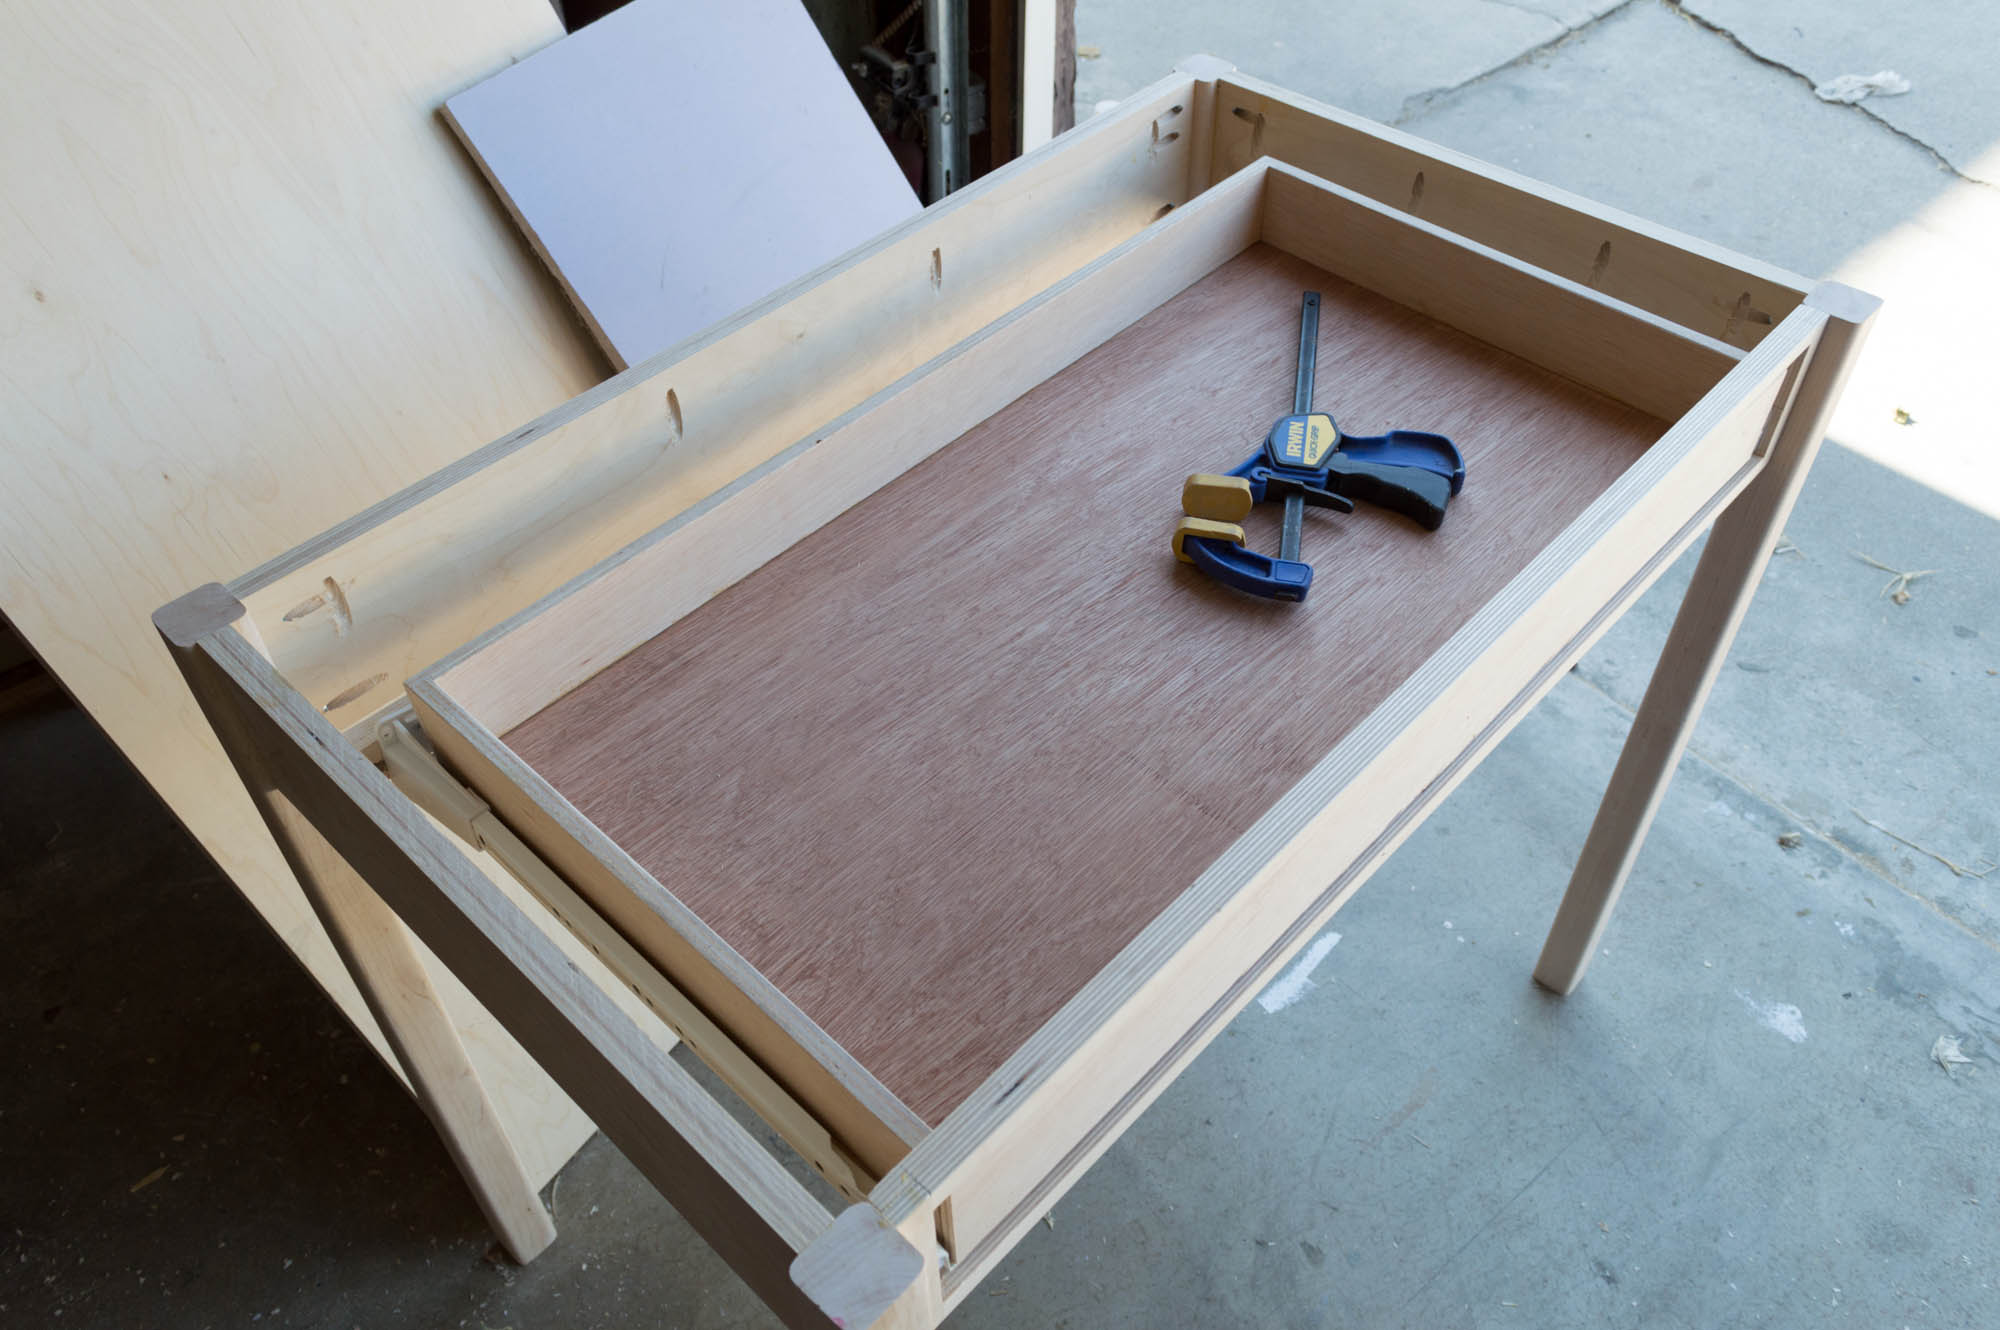
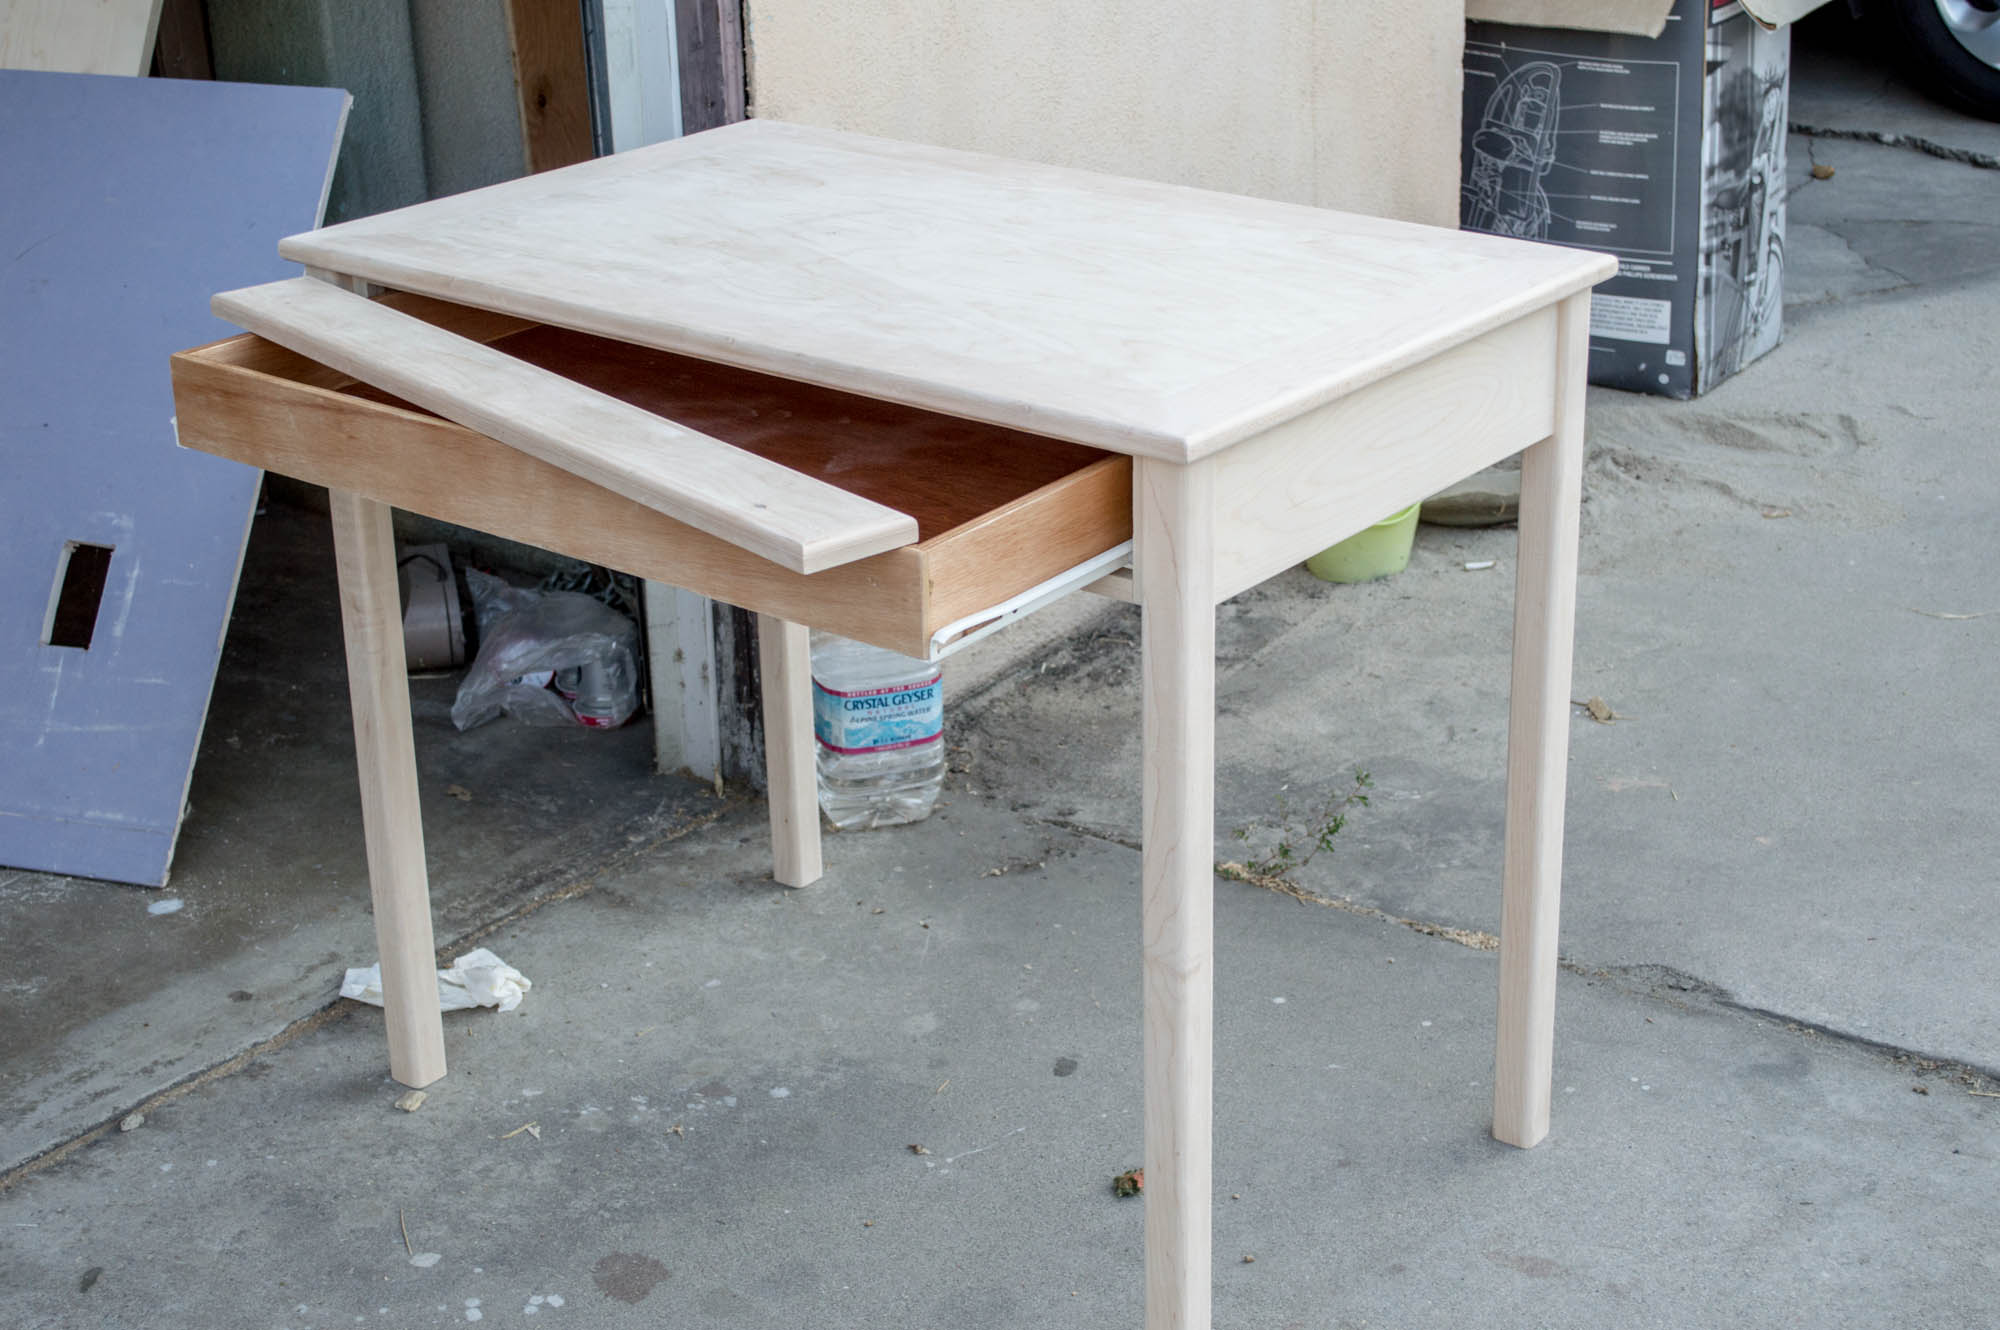
The drawer slides were a weird bunch. The instructions call for a three quarter inch gap between the drawer and the tabletop. I wanted to maximize container space, so I settled for a little less than a half inch gap. The drawer slid in perfectly. Now that’s just silly. The slide is joined to the faceframe by a single screw (on each side). I really don’t think that a screw is strong enough to hold the weight of a full drawer, but it’s working out so far.
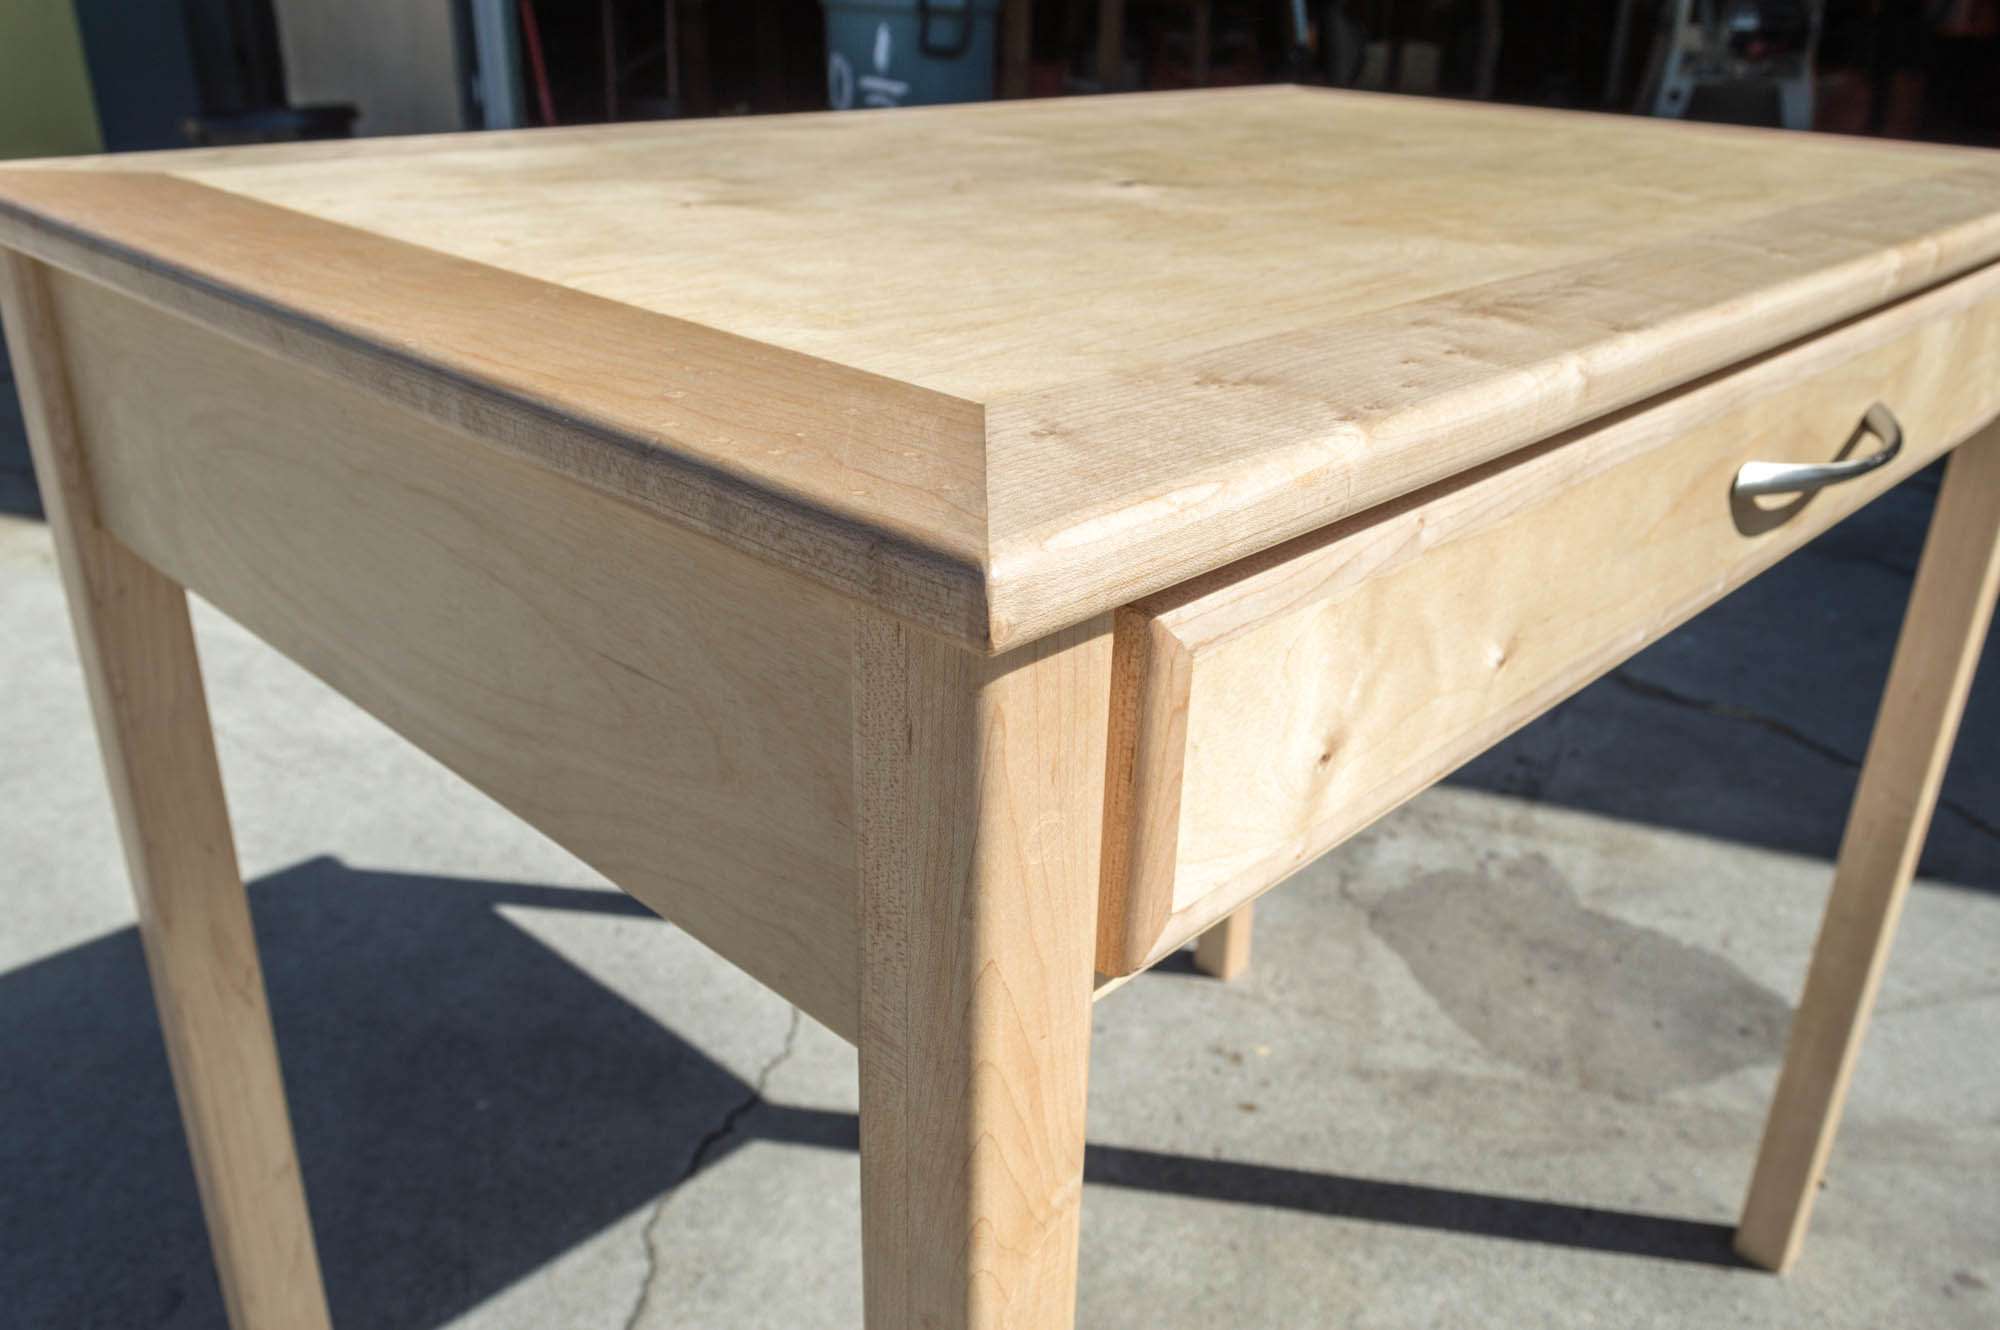
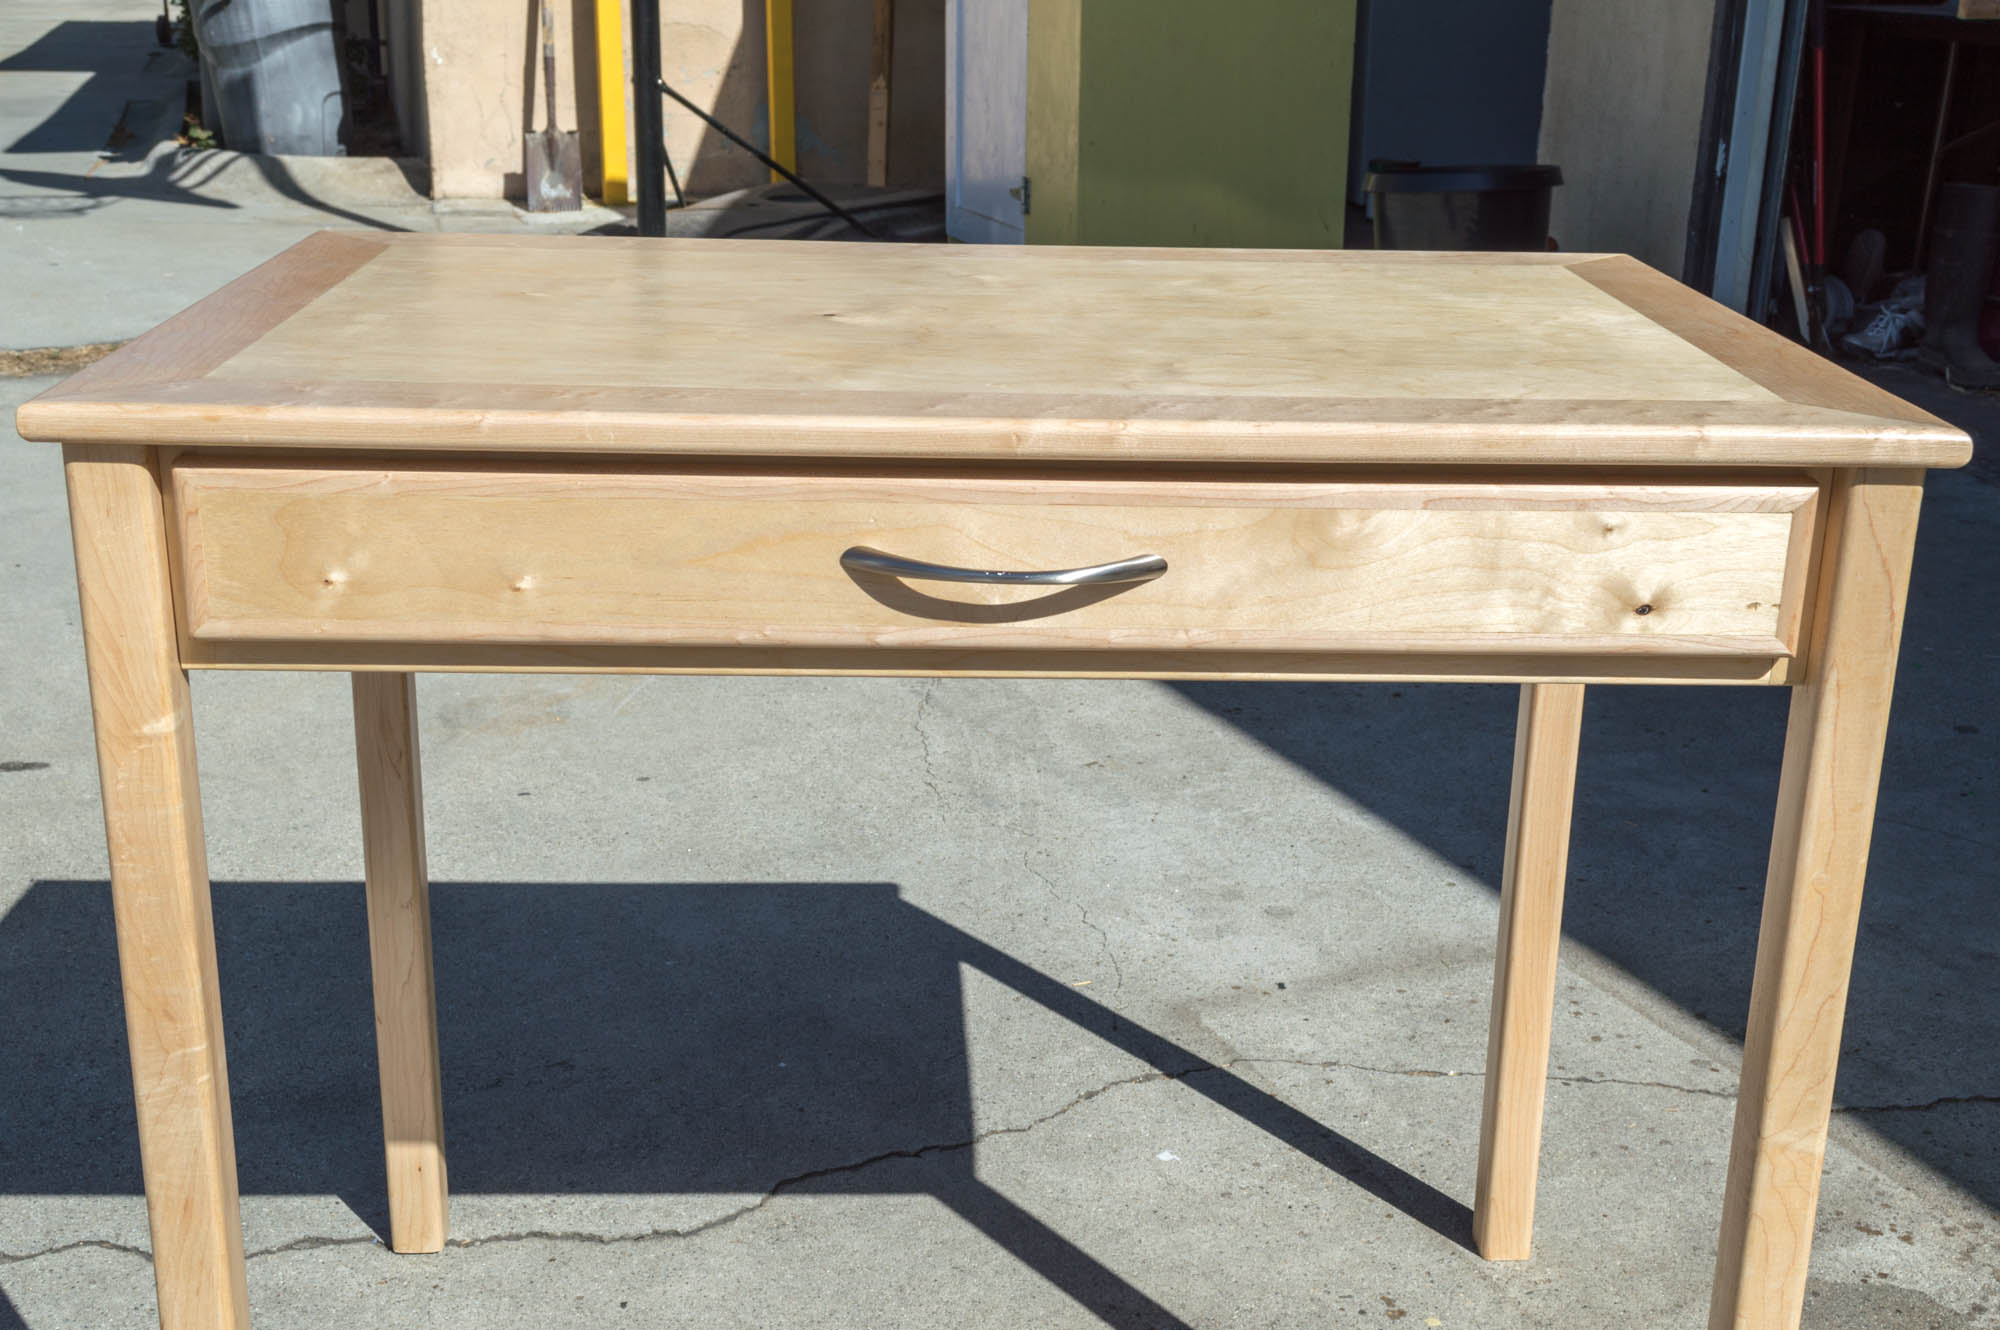

The finish is “Wipe-On Polyurethane”. It bolsters having the strength of polyurethane with the beauty of a hand rubbed finish, which is indeed tried and true. I dabbed a bit of the mixture onto the table surfaces and wiped it with a rag. The finish dries in around 20 minutes and is ready for another coat in an hour.
I actually have a video of the process:
It’s filmed in a stop motion sequence. I wouldn’t recommend doing something like this with a quick drying finish. By applying the finish in increments, it creates a blotchy surface because some parts dry fast and everything becomes uneven. Luckily, it isn’t really noticeable unless in the right lighting.